Microsoft 365 Exchange
Outlook Classic, New Outlook, OWA, Outlook Web Access, and Outlook Web App.
- End of support for legacy Outlook for Mac
As technology evolves, so must our tools to maintain efficiency, security, and user satisfaction. After October 2025, Microsoft 365 subscriptions associated with a Microsoft account, or work or school account, will no longer be able to use legacy Outlook for Mac with their subscription. This transition marks a significant step towards a more robust, feature-rich, and secure email experience for all users.
Reference: End of support for legacy Outlook for Mac
Outlook Classic Settings
A full access user of an Exchange (Outlook) Shared Mailbox must change permissions for others to access mailbox folders, and non-full access users have to add the Shared Mailbox to their own Exchange (Outlook) account in order to see it upon login.
User definitions
- Full Access: The highest level of administrative rights for an Exchange Shared Mailbox is full access, and an owner has fewer permissions.
- Owner - Reviewer: Allows account access, but not administrative rights
- Contributer: The lowest-level permission in Exchange. If a user would be designated at this level, they probably shouldn’t have access to the account.
Viewing folders and their contents
Only those with full access can automatically see the Shared Mailbox and its contents upon login. All other users must have permissions added by the user with full access before they can view the Shared Mailbox.
These steps must be followed by a full access user for each non-full access user to allow access and view of an Exchange shared mailbox and its contents (emails, subfolders and subfolder emails). This process must also be followed for each Shared Mailbox account and each subfolder within the shared mailbox account.
If you require non-full access users to have “send as” or “send on behalf” permissions, please submit a request to CUIT.
If at a later date a full access user wants to add a new full access user to their Exchange Shared Mailbox account, please submit a request to CUIT to have an account and mailbox created in the ADCU domain for shared mailbox access only. You must include in the request that full access should be provided for the new user.
Follow these steps to provide a new user with access less than full access (i.e. owner - contributer).
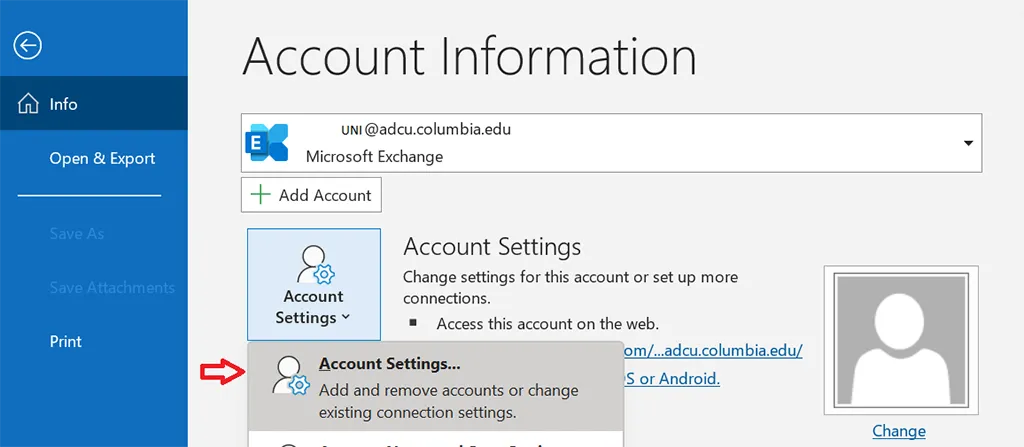
1. Click on File > Account Settings > Select Account Settings...
2. A new window will appear. Click on your account then select Change...

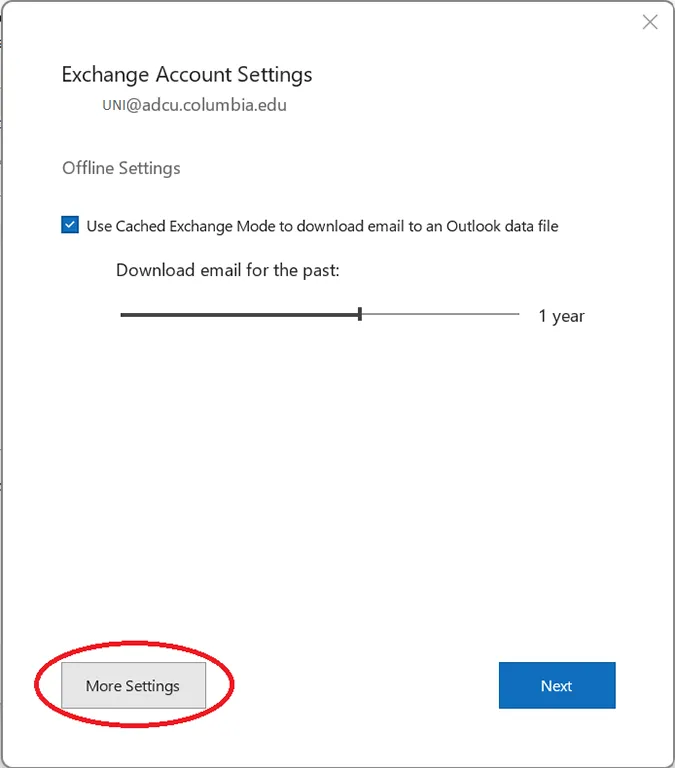
3. This will open to Exchange Account Settings. Click on More Settings.
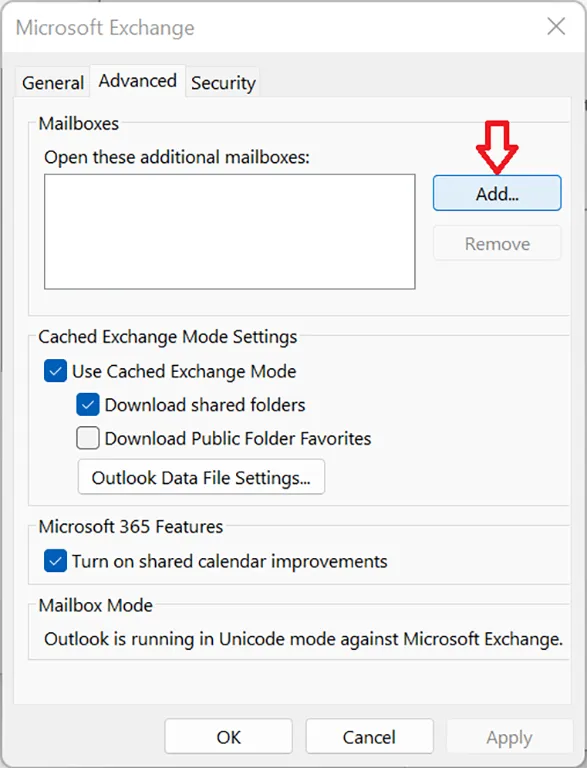
4. Click on Add...
5. Type in the name of the email address without @adcu.columbia.edu. Click on OK.
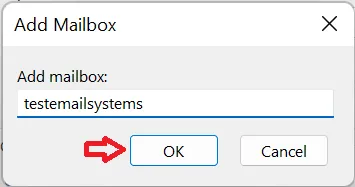
6. It will find the address as long you have the correct name. All you need to do is click on Apply and then click on OK.
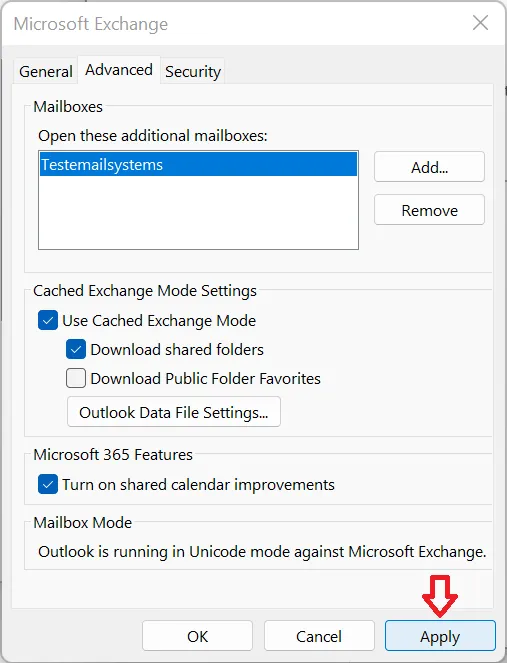
7. This will put you back to the Exchange Account Settings. Click on Next.
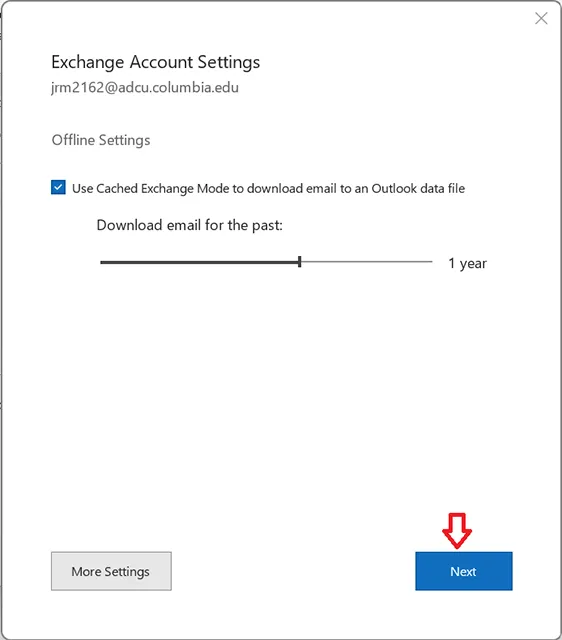
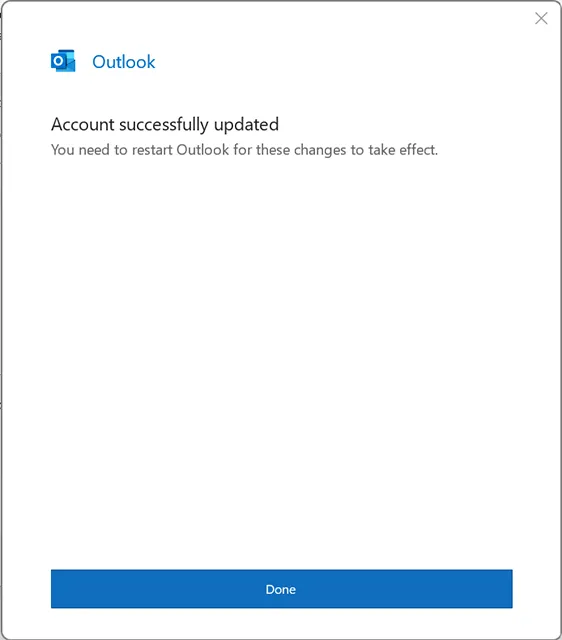
8. Click on Done.
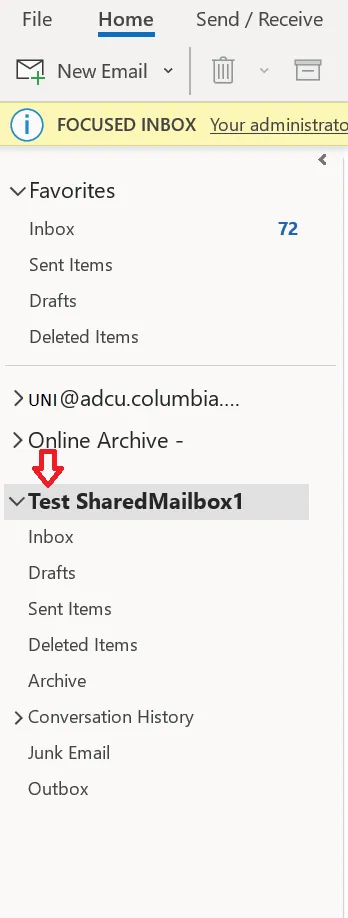
9. Expand the shared mailbox that you just added. It's good practice to send a test email to make sure you have the correct sending permissions.
If you don't have access to Microsoft Outlook via your desktop, you can log in via the Outlook Web App (OWA). There are a few additional steps than described in the Logging into Shared Mailbox via Microsoft Outlook guide.
In brief: when accessing the shared mailbox from Microsoft Outlook on their desktop, users log in to their individual accounts, and the shared accounts appear on the same page; when accessing from OWA on the web, you must first log in to their individual Exchange accounts for security purposes, so your identity is confirmed. After logging in and accessing your individual account, you can then log in to the shared mailbox.
Step-by-step instructions:
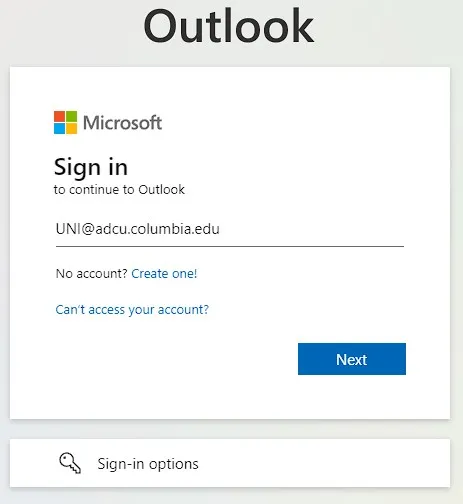
1. Open a browser from any computer and navigate to https://outlook.office365.com
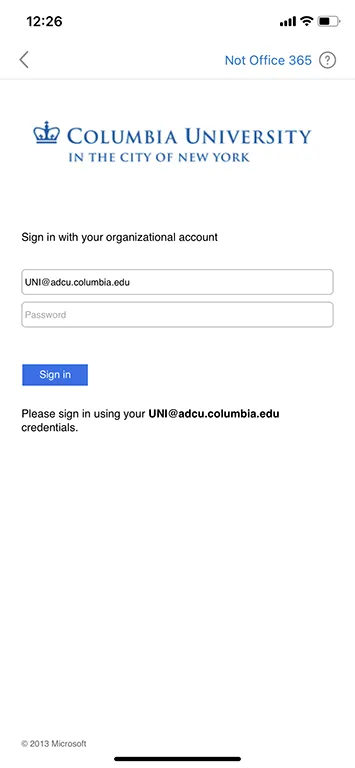
2. Type in your ADCU account and select 'Next'
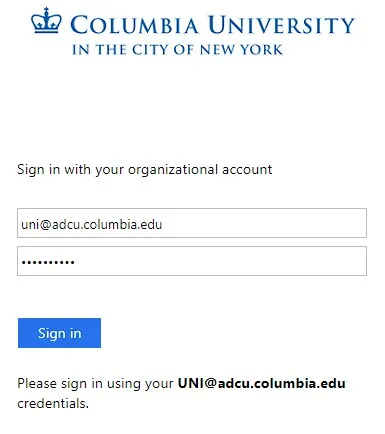
3. This will redirect you to the Columbia University email login page and sign in using your [email protected] credentials.
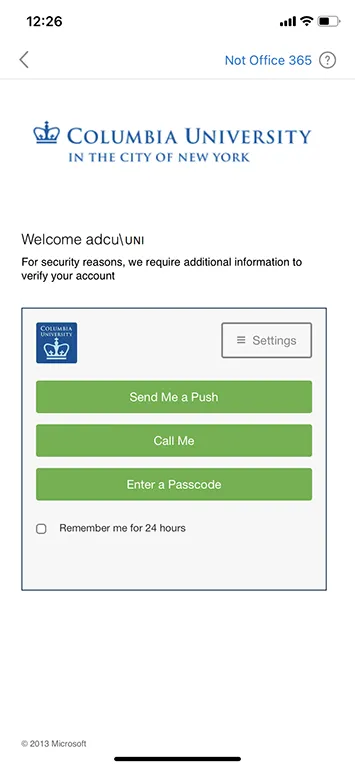
4. You will need to authenticate by 'Send Me a Push', 'Call me', or 'Enter a Passcode'.

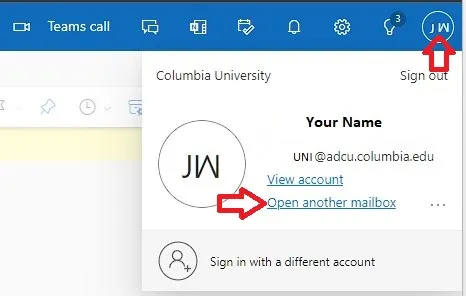
5. At the top right click on the Account Manager and select 'Open another mailbox'
6. Type in the name of the shared mailbox. Select from the auto-fill when the search finds the mailbox you are looking for. Click on 'Open'.
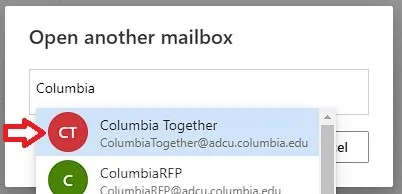
7. You will see the same interface displayed, but instead of your individual account name. The shared account mailbox name will appear as (i.e., ColumbiaTogether ).
Make someone a delegate
A delegate automatically receives Send on Behalf permissions. By default, the delegate can read only your meeting requests and responses. The delegate isn’t granted permission to read other messages in your Inbox.
-
Click the File tab.
-
Click Account Settings, and then click Delegate Access.
-
Click Add.
If Add doesn’t appear, an active connection might not exist between Outlook and Exchange. The Outlook status bar displays the connection status.
-
Type the name of the person whom you want to designate as your delegate, or search for and then click the name in the search results list.
Note: The delegate must be a person in our ADCU organization's Microsoft 365 Exchange Global Address List (GAL).
-
Click Add, and then click OK.
-
In the Delegate Permissions dialog box, accept the default permission settings or select custom access levels for Exchange folders.
If a delegate needs permission to work only with meeting requests and responses, the default permission settings, such as Delegate receiving copies of meeting-related messages sent to me, are sufficient. You can leave the Inbox permission setting at None. Meeting requests and responses will go directly to the delegate's Inbox.
Note: By default, the delegate is granted Editor (can read, create, and modify items) permission to your Calendar folder. When the delegate responds to a meeting on your behalf, it is automatically added to your Calendar folder.
-
To send a message to notify the delegate of the changed permissions, select the Automatically send a message to delegate summarizing these permissions check box.
-
If you want, select the Delegate can see my private items check box.
Important: This setting affects all Exchange folders. This includes all Mail, Contacts, Calendar, Tasks, Notes, and Journal folders. There is no way to grant access to private items in only specified folders.
-
Click OK.
Notes:
-
Messages sent with Send on Behalf permissions include both the delegate's and your names next to From. When a message is sent with Send As permissions, only your name appears.
-
Once you add someone as a delegate, they can add your Exchange mailbox to their Outlook profile. For instructions, see Manage another person's mail and calendar items.
-
Change permissions for a delegate
-
Click the File tab.
-
Click Account Settings, and then click Delegate Access.
-
Click the name of the delegate for whom you want to change permissions, and then click Permissions.
Note: If you want to remove all Delegate Access permissions, don’t click Permissions but instead click Remove and skip the rest of these steps.
-
Change the permissions for any Outlook folder that the delegate has access to.
-
To send a message to notify the delegate of the changed permissions, select the Automatically send a message to delegate summarizing these permissions check box.
Note: If you want copies of meeting requests and responses that you receive to be sent to a delegate, ensure that the delegate is assigned Editor (can read, create, and modify items) permission to your Calendar folder, and then select the Delegate receives copies of meeting-related messages sent to me check box.
New Outlook Settings
- February 2025 Microsoft will begin installing New Outlook in the background as part of the standard Office updates. While users will not be required to use New Outlook, the apps will experience a renaming to clarify the multiple versions. At this point the apps will become Outlook and Outlook (classic). Moving forward, this will be Microsoft’s naming convention for the two versions.
- March 2025 – April 2026 Microsoft is referring to this stage as Opt-In. Users will continue to be able to switch between Outlook and Outlook (classic) using the built-in toggle button.
- April 2026 Microsoft is referring to this stage as Opt-Out, and will begin prompting Outlook (classic) users to switch to Outlook. Outlook (classic) will continue to be available as needed. This date is far enough away that it is possible the situation may change, but this is the best information available
- 2029 Microsoft has committed to supporting Outlook (classic) with this comment, “Please note that the cutover stage does not signify the end of support for classic Outlook for Windows. We will continue to honor published support timelines for existing version of classic Outlook for Windows until at least 2029.”
NOTE -- these dates are subject to change
Microsoft 365 Exchange setup for your mobile/tablet
ADCU Microsoft 365 Exchange from your iPhone browser (quick access):
You can follow the steps below to add Microsoft 365 Exchange to your iPhone, but remember that you can always access Microsoft Exchange on the web from any browser, including your mobile device, without any configuration:
- Open the browser on your iPhone and enter the following URL: https://outlook.office365.com
- Log in to your Exchange account with your [email protected] and password
Adding Microsoft 365 as an email account on your iPhone
If you already have a Microsoft 365 Exchange account, please be sure to remove it before you begin.
To add a new account:
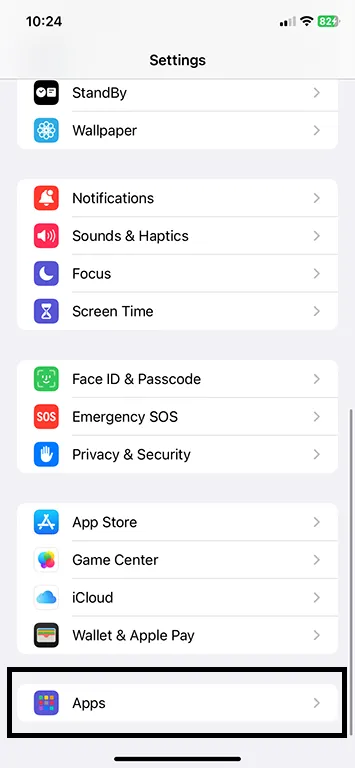
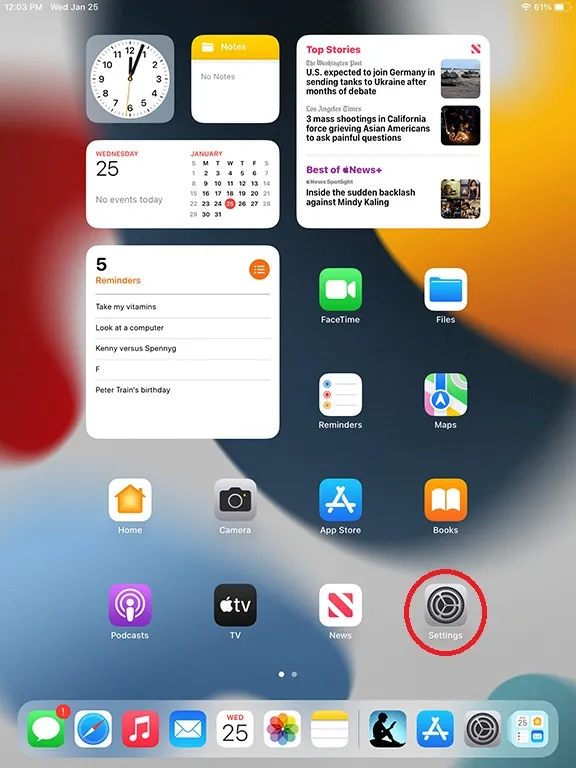
On the home screen, click on Settings.

Select Apps.
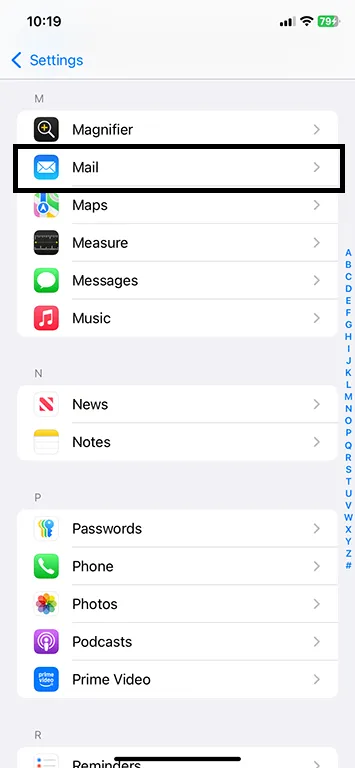
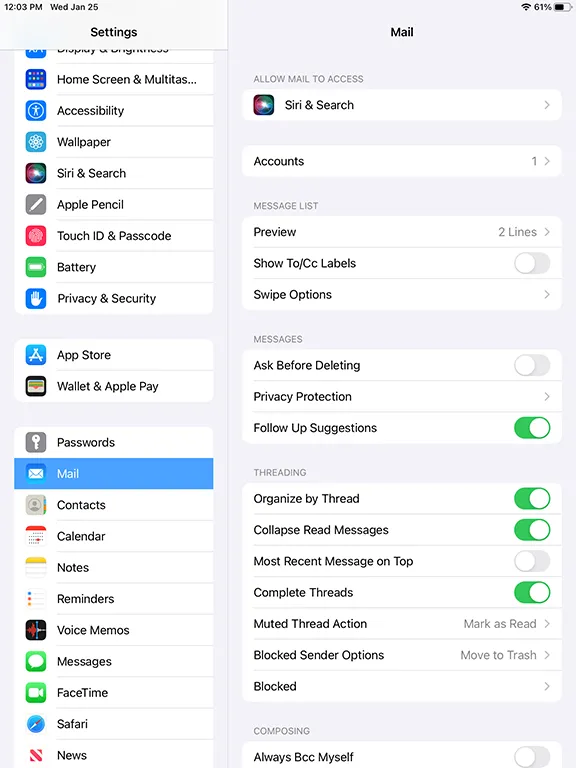
Select Mail.
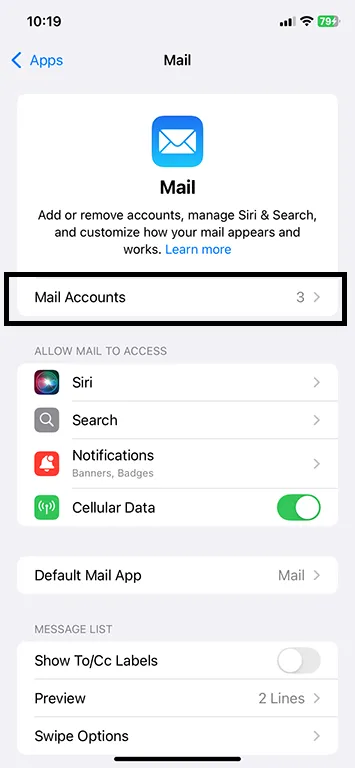
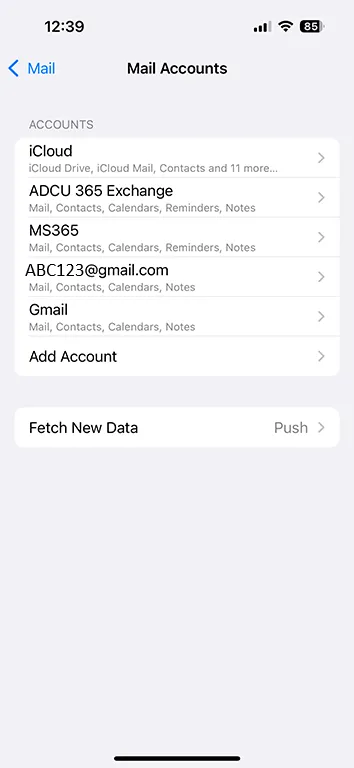
Select Mail Accounts.
Select the Microsoft Exchange option.
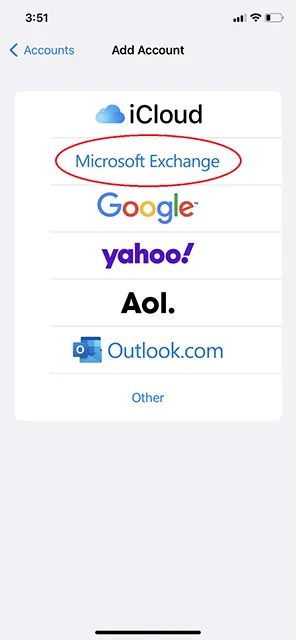
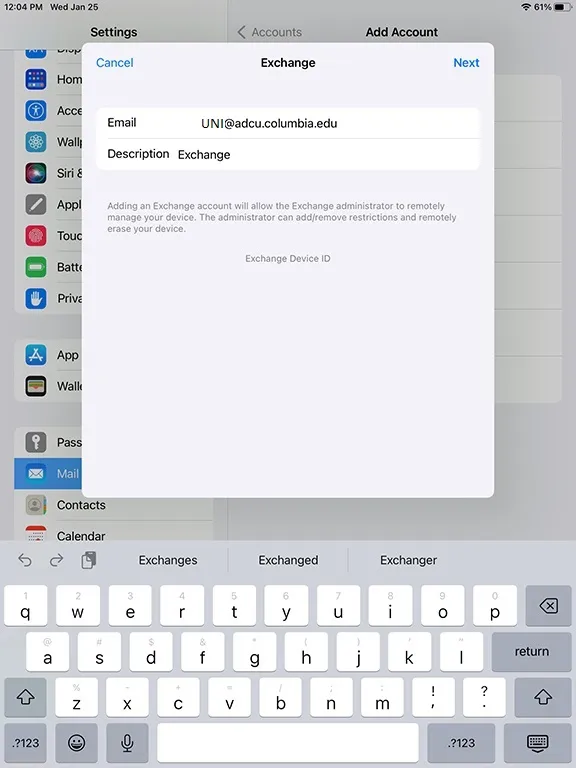
Add your email address as [email protected]. The Description field will automatically populate with the word Exchange, which you can change to your preferred name. Click Next.
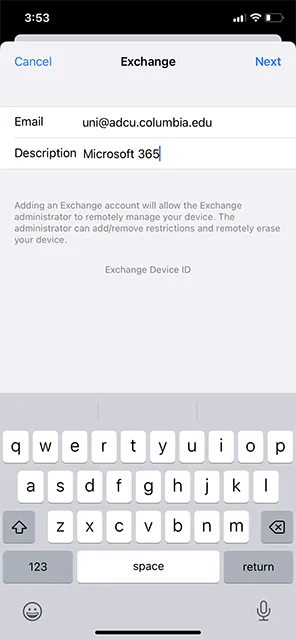
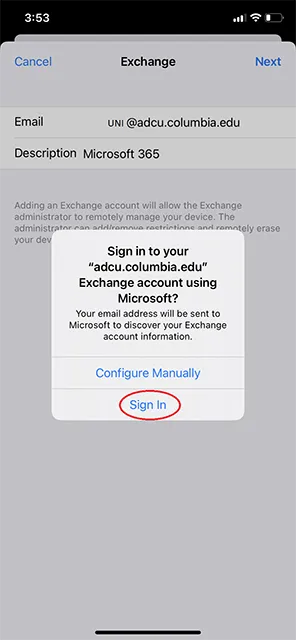
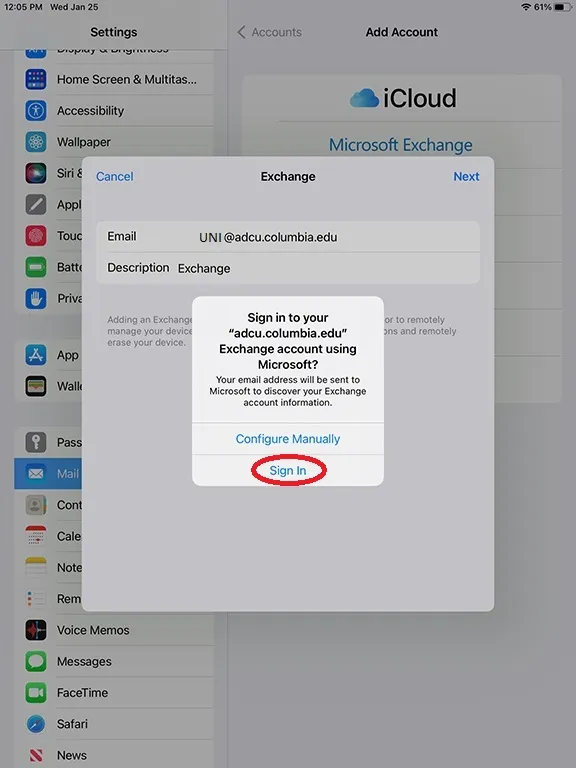
Select Sign In.
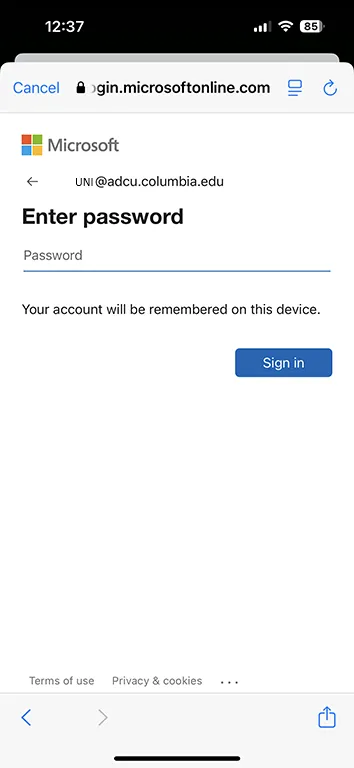
Enter your email address and UNI password and select Sign in.
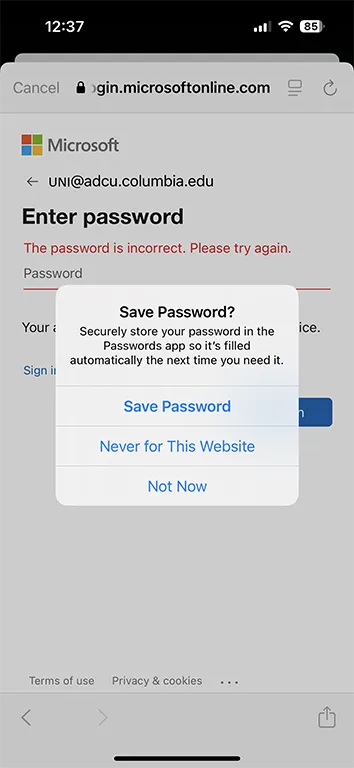
Select Save Password.
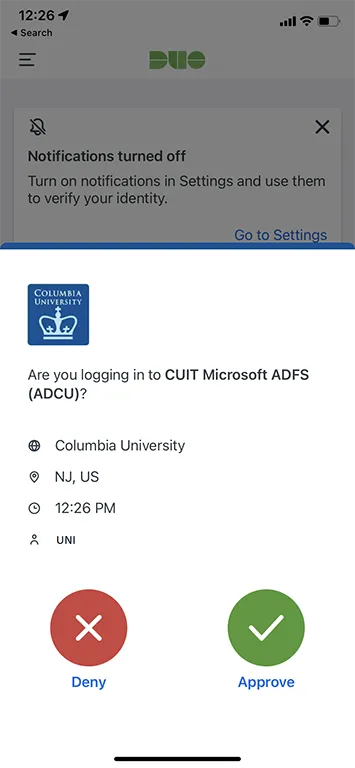
Verify your identity by selecting Approve with Duo. You will be redirected to the Duo application.
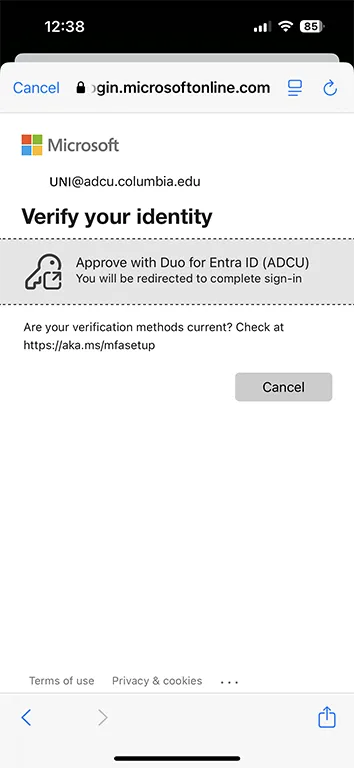
The Dup Push will request that you open your Duo Application or select other options, such as 'Call me' or 'Enter a Passcode'.
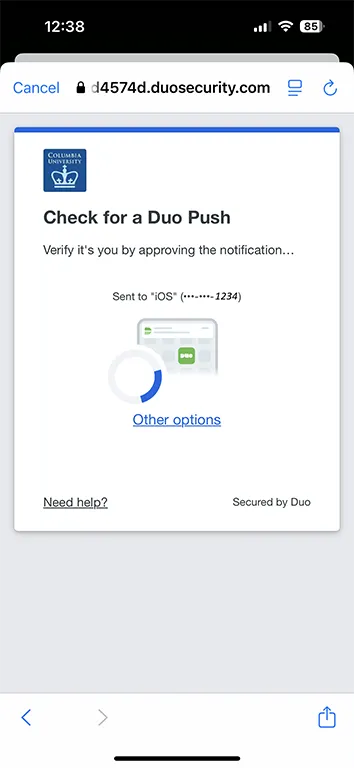
The screen will show you have been Approved.

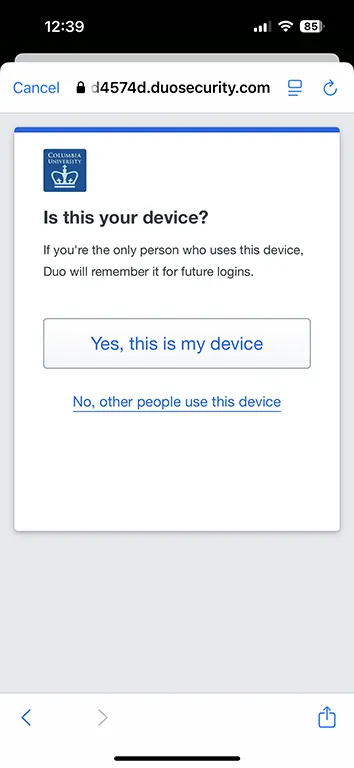
Select 'Yes, this is my device'.
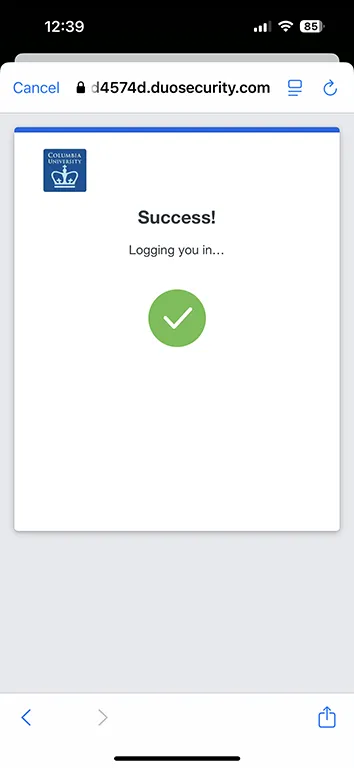
An image should show you were successful.
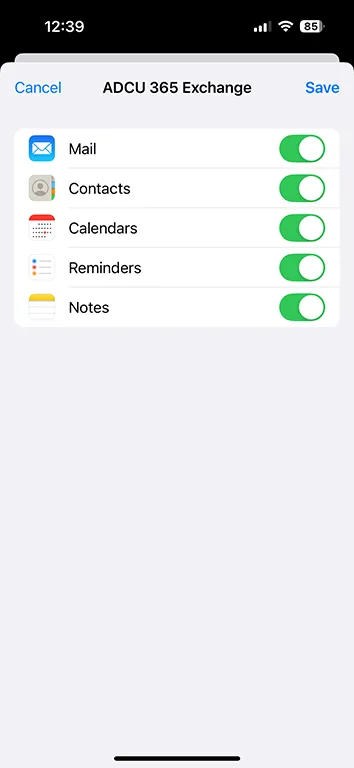
Click "Save" after you select what you want to sync to your iPhone.
You have finished setting up ADCU Microsoft 365 on your iPhone.
1. Click on the 'Settings' icon on the home screen.
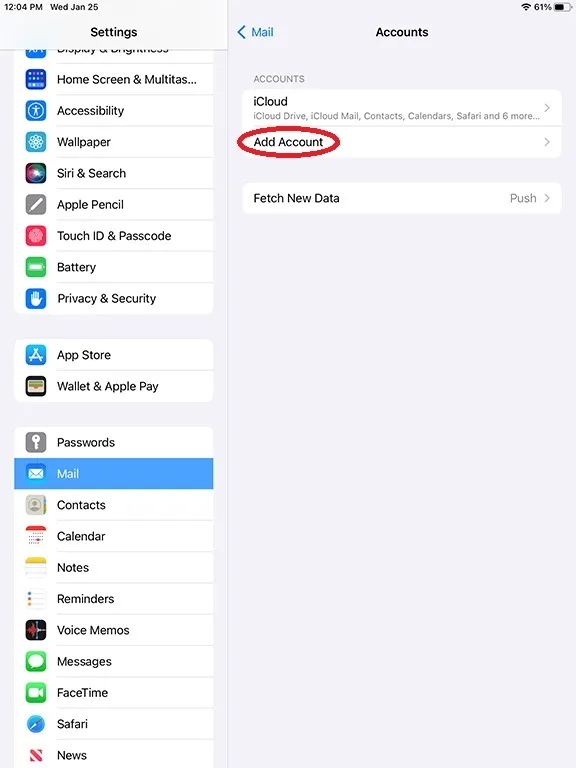
2. Select the 'Mail' option, located on the left side.
3. Click the 'Add Account' option on the right side.
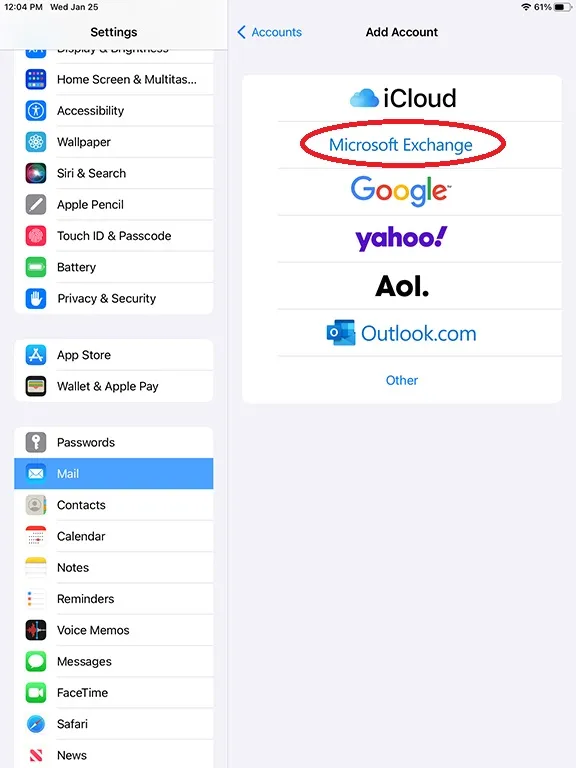
4. Select Microsoft Exchange located on the right.
5. Add your email address as [email protected]. The description row does not need to be adjusted.
6. Select 'Sign In' to your Microsoft Exchange account.
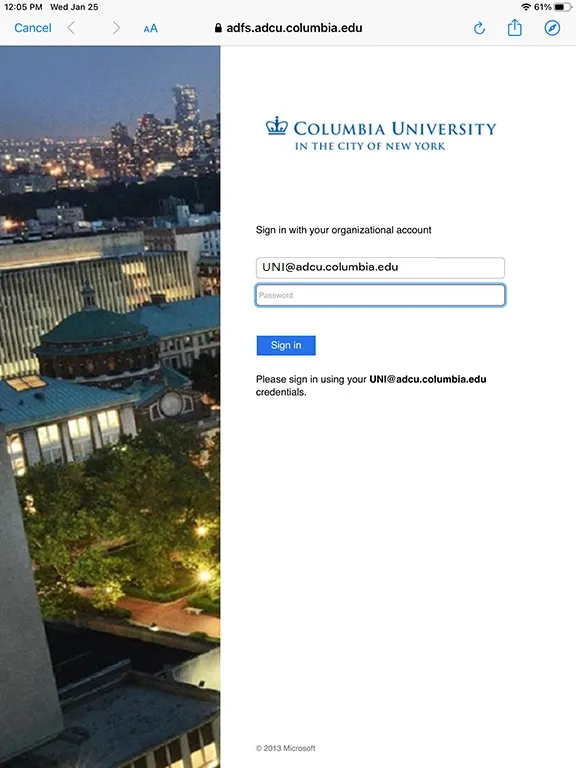
7. The application will redirect you to the Columbia University authentication login screen. Please enter your [email protected] and password. Select 'Sign in".
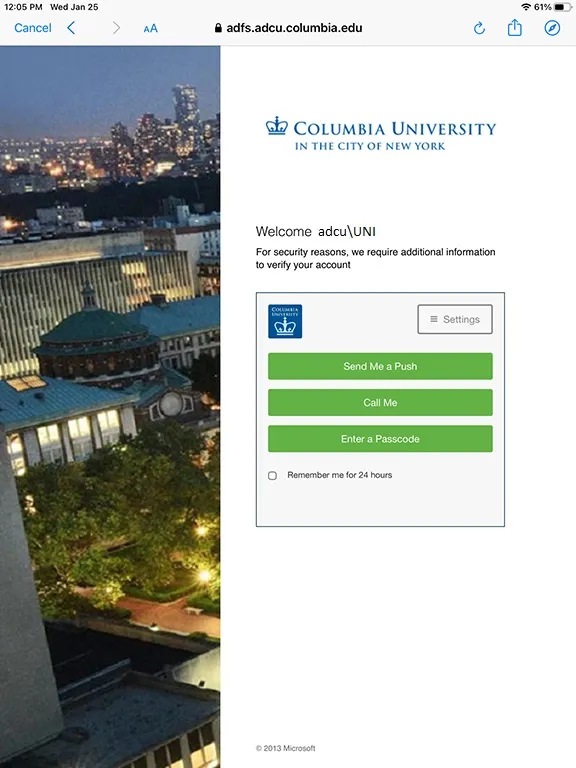
8. You will need to authenticate by 'Send Me a Push', 'Call me', or 'Enter a Passcode'.
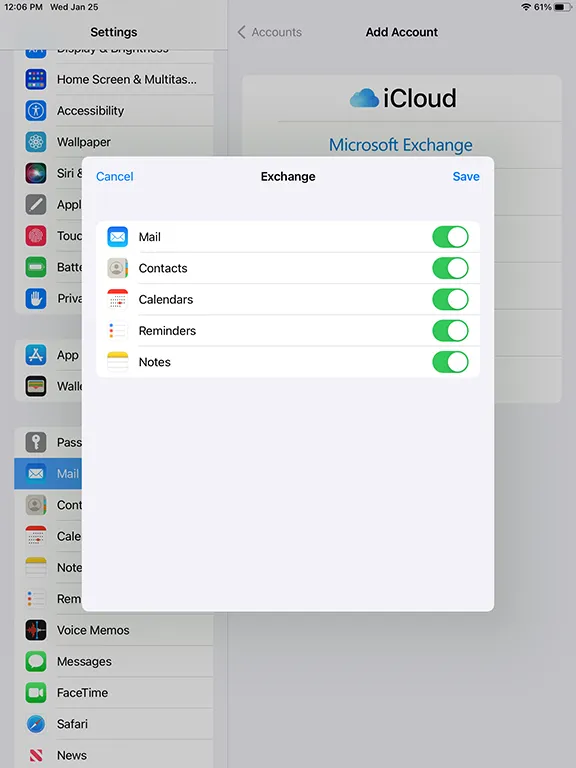
9. Choose the options for the applications you wish to sync and select 'Save'.
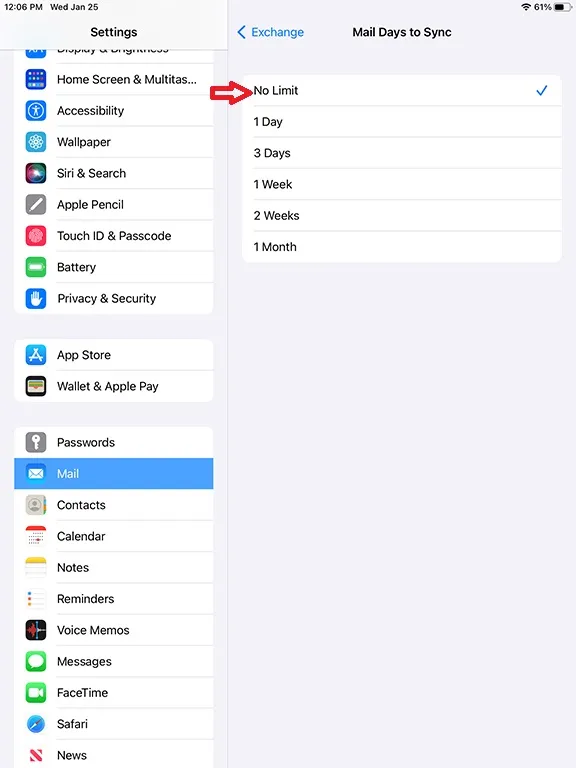
10. Click 'Done' and go back to 'Settings'. Select 'Exchange' or the name of the altered description you had adjusted.

11. Select 'Mail Days to Sync' and change this setting from the default to 'No Limit'
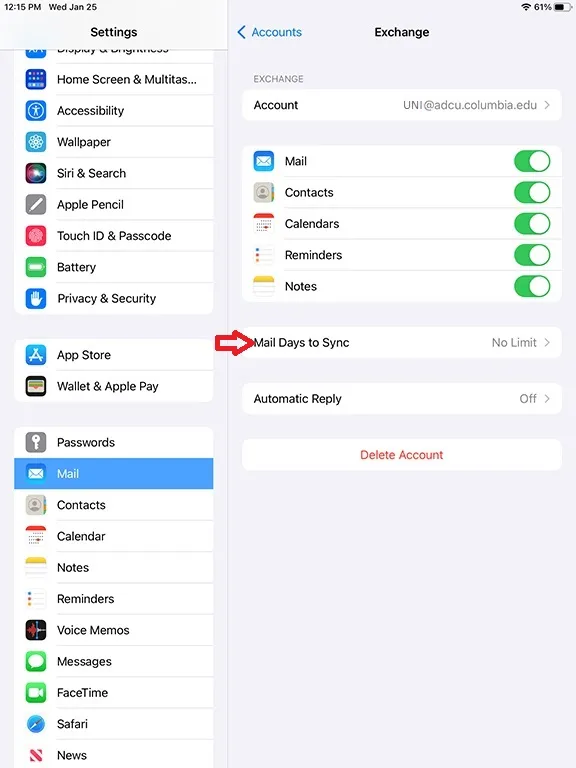
12 Select 'No Limit' and back out of the settings.
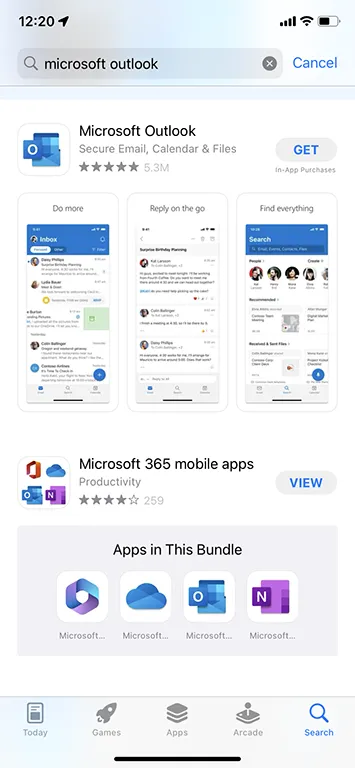
1. On your iPhone go to App Store and install the Microsoft Outlook app
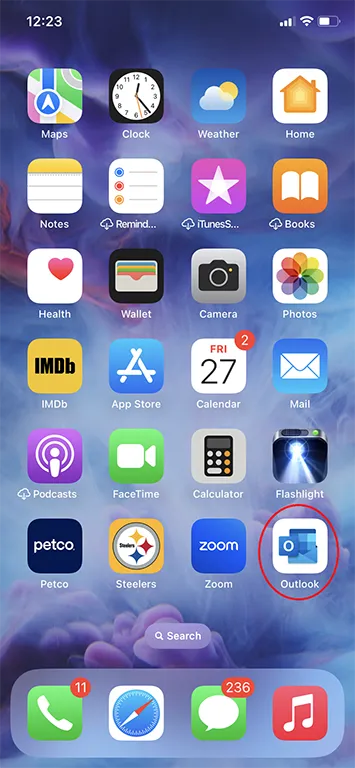
2. Open the Outlook app
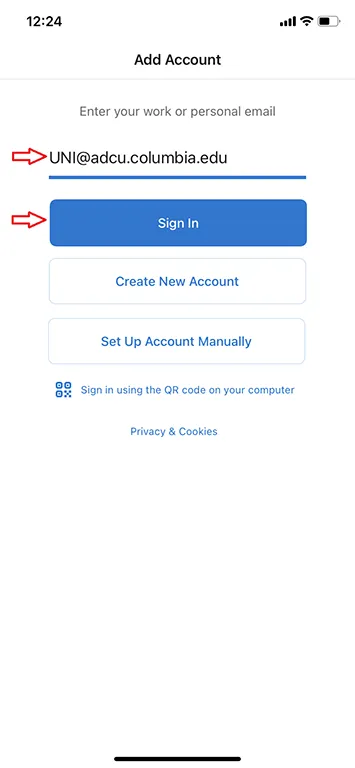
3. Enter your ADCU Microsoft 365 email address: [email protected] and select Sign In
4. You will be redirected to the Columbia University authentication page. Enter your [email protected] and password. Click on Sign In.
5. You will need to authenticate by 'Send Me a Push', 'Call me', or 'Enter a Passcode'.
6. Open Columbia Univerity DUO and click on Approve
7. Select Maybe Later

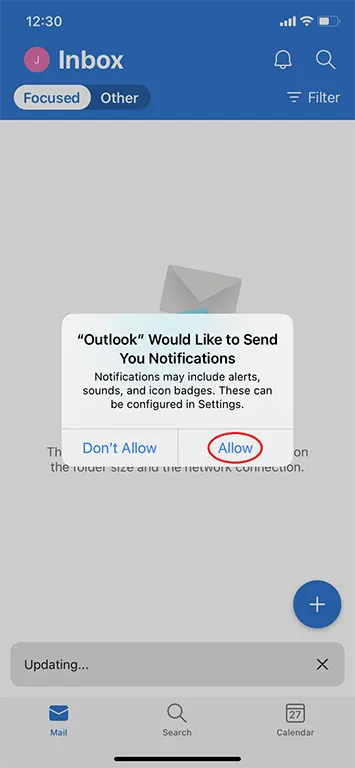
8. Select Turn On to Enable Notifications

9. Select Allow for Outlook Notifications
Microsoft 365 setup for your email client
Installed versions of Microsoft 365 on your local drive.
Outlook Web App (OWA) is a web-based email management program for use by University employees whose departments subscribe to CUIT's Central Exchange/ADCU domain email and calendaring services. It is not available to students unless they are employees of a subscribing department. More information on Central/Exchange services and costs are available on the Central Server page.
Requirements
Outlook Web Access requires a valid UNI and an ADCU Exchange email account (e.g., [email protected])
Accessing OWA
Log in to Microsoft 365 Web https://outlook.office365.com/
For mailboxes that are larger than 5GB, we do not recommend using Outlook for Mac. Please consider using Outlook Web Access for the best user experience.
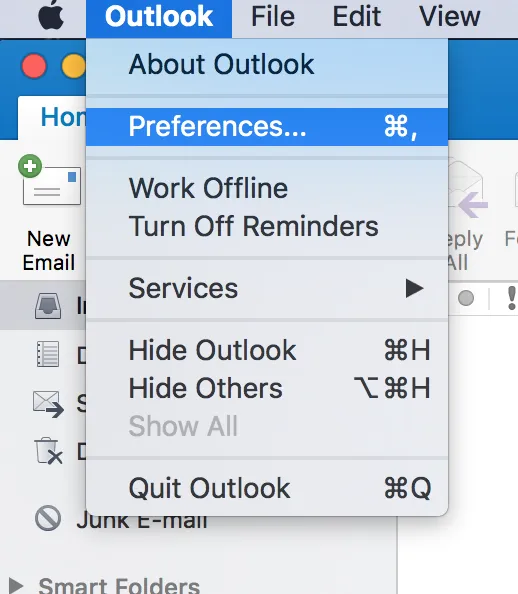
1. Open Outlook 2016 for Mac and select Preferences from the Outlook menu option
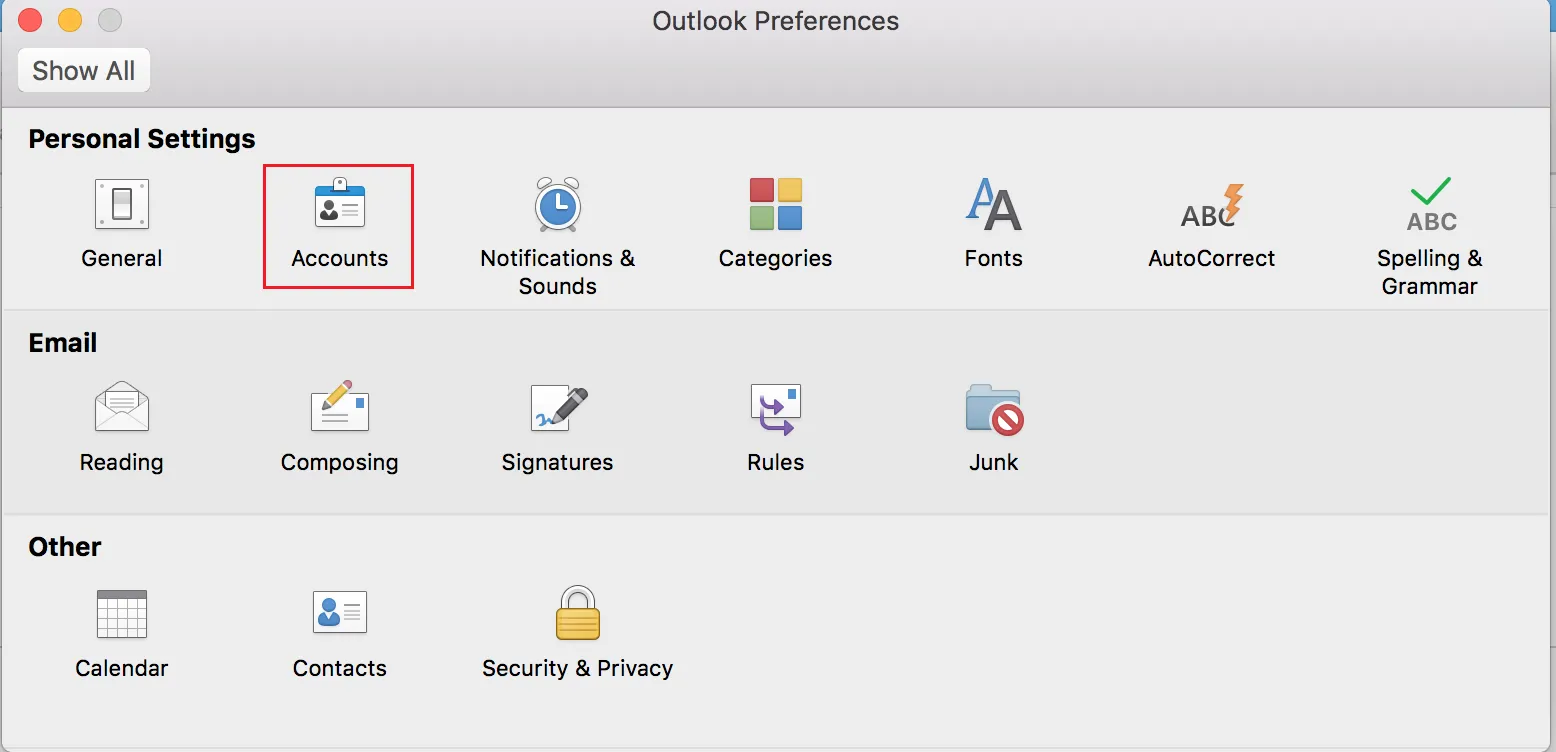
2. Click Accounts
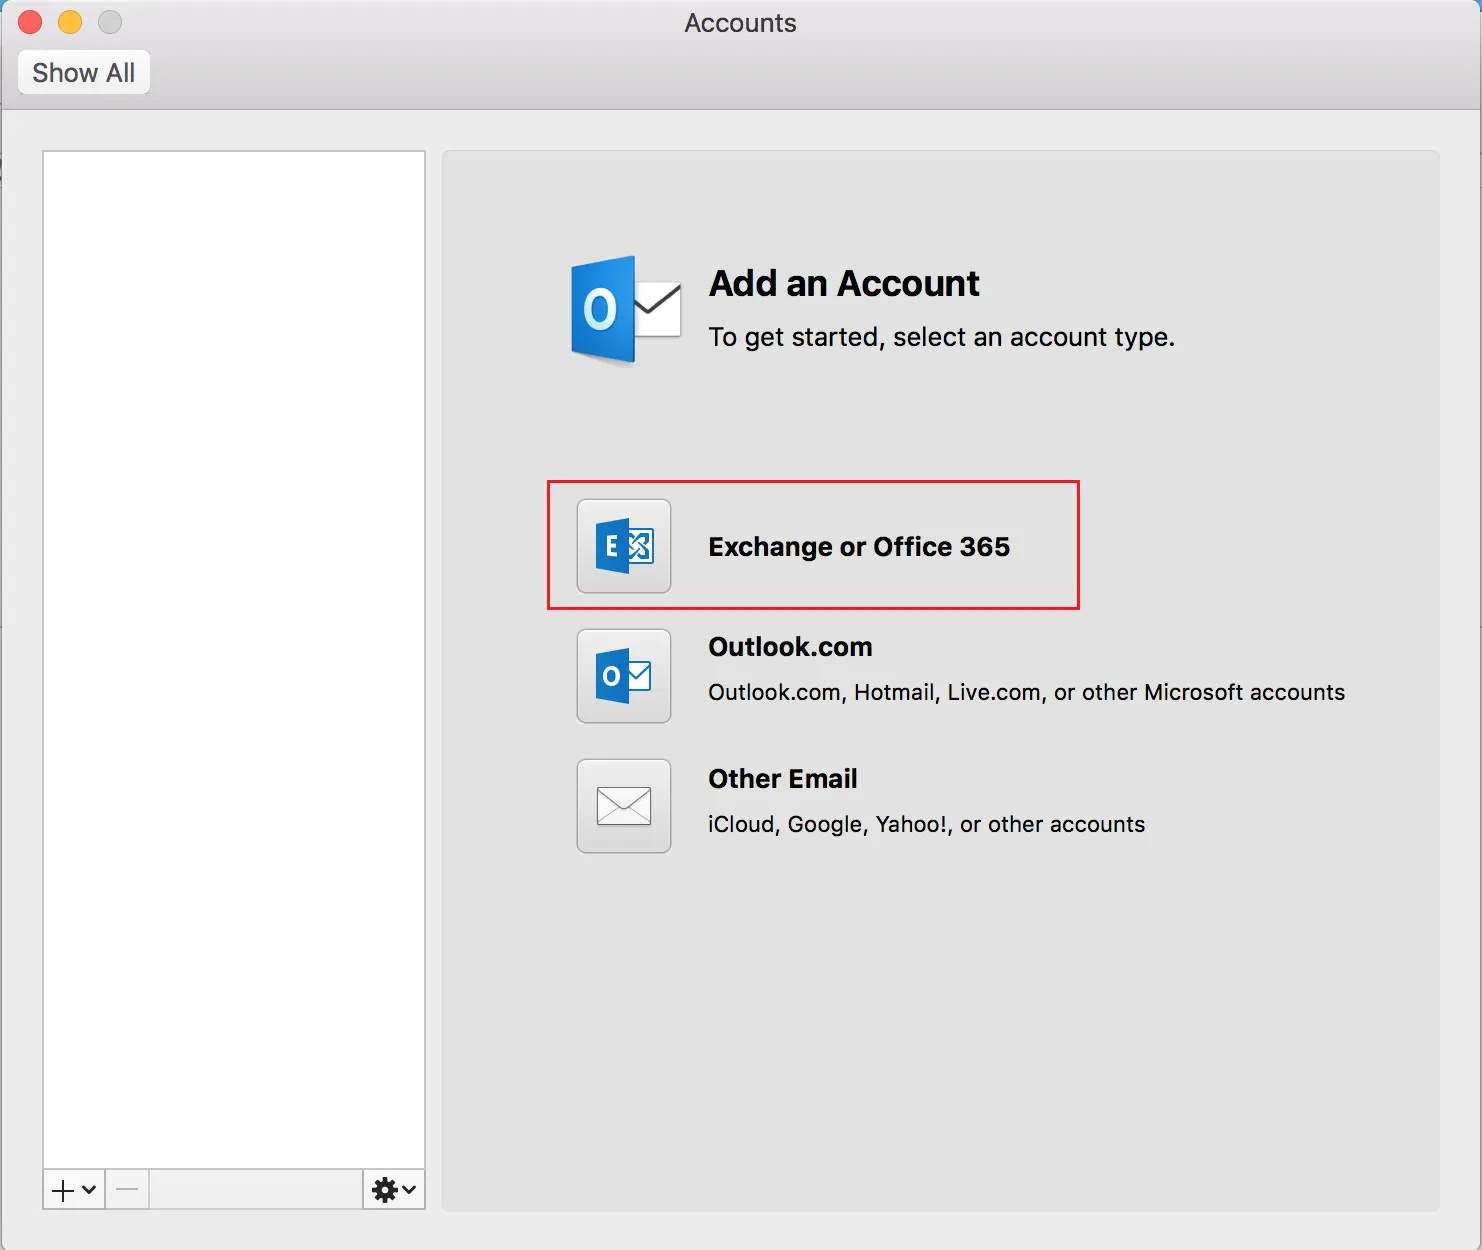
3. Choose Exchange or Office 365
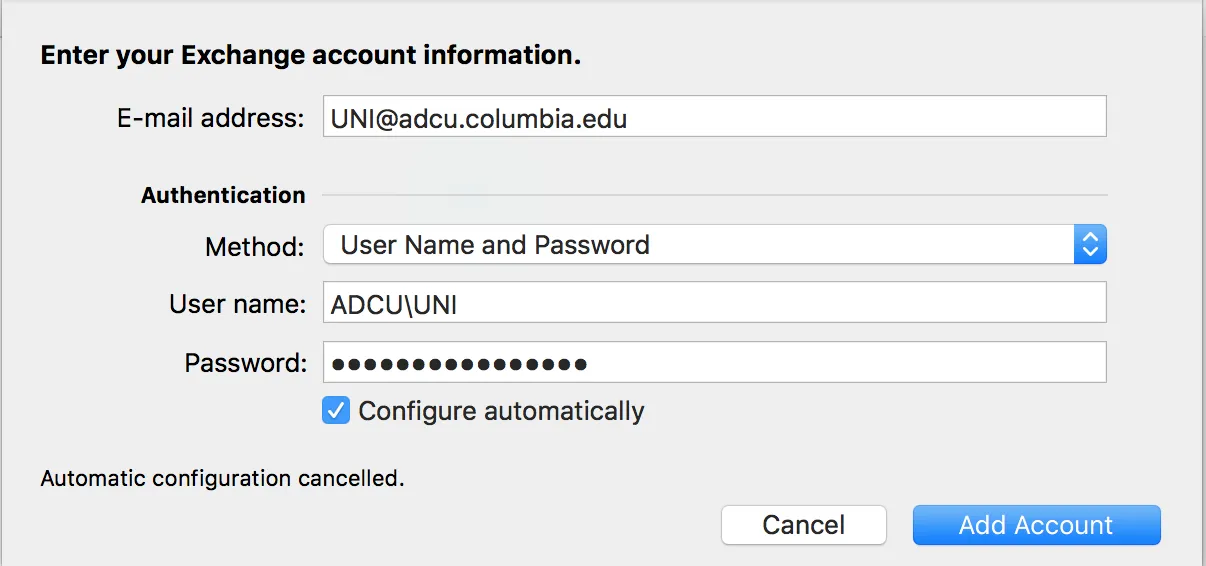
4. Type in your UNI@adcu.columbia.edu, ADCU\UNI and your UNI Password. Check the Configure automatically option, and click Add Account.
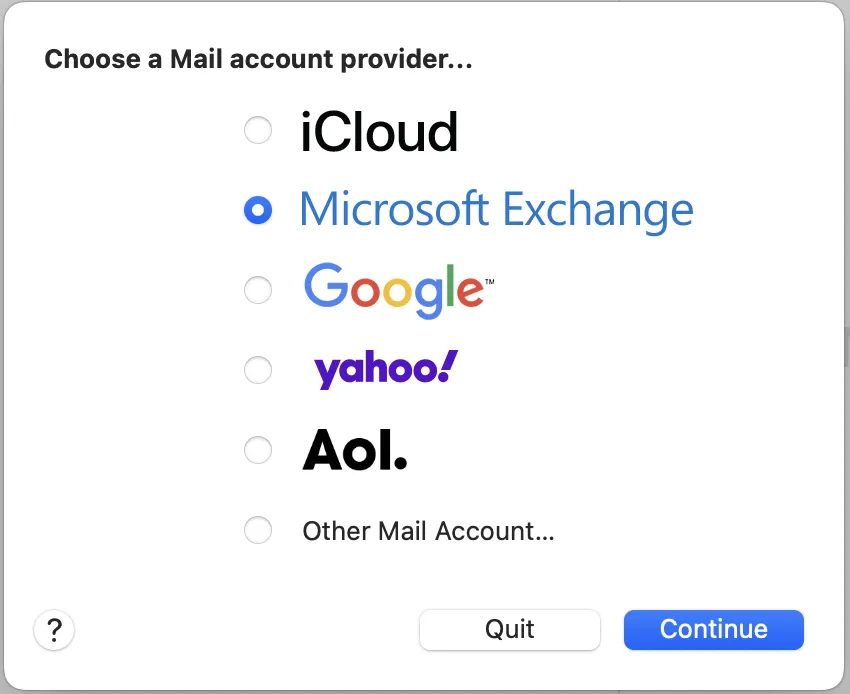
1. Open Apple Mail application, select Exchange and click Continue
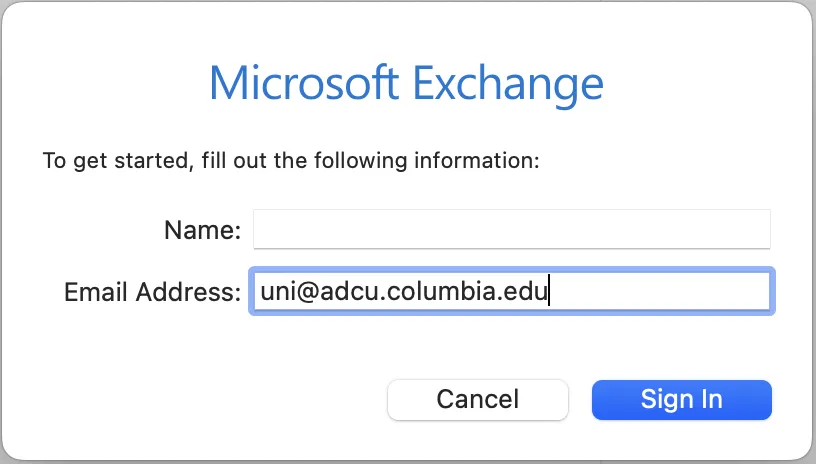
2. Fill in the fields with your Full Name, [email protected] and click Sign In
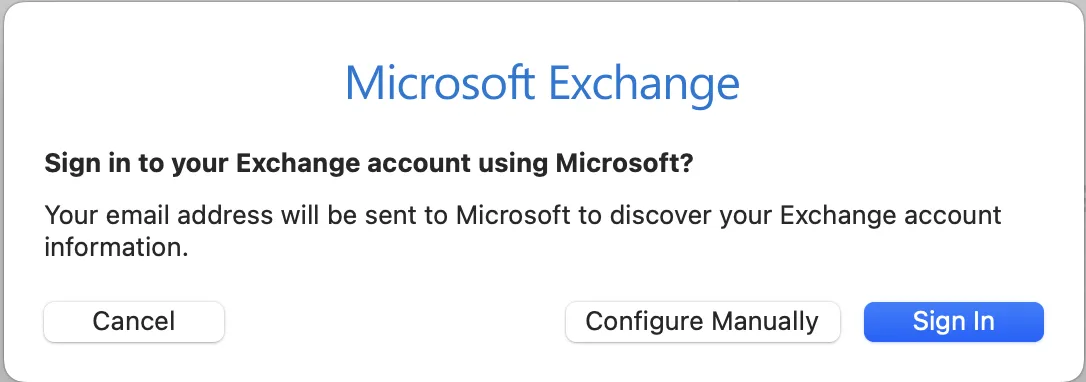
3. Select Sign In when you are asked if you would like to Sign into Microsoft Exchange
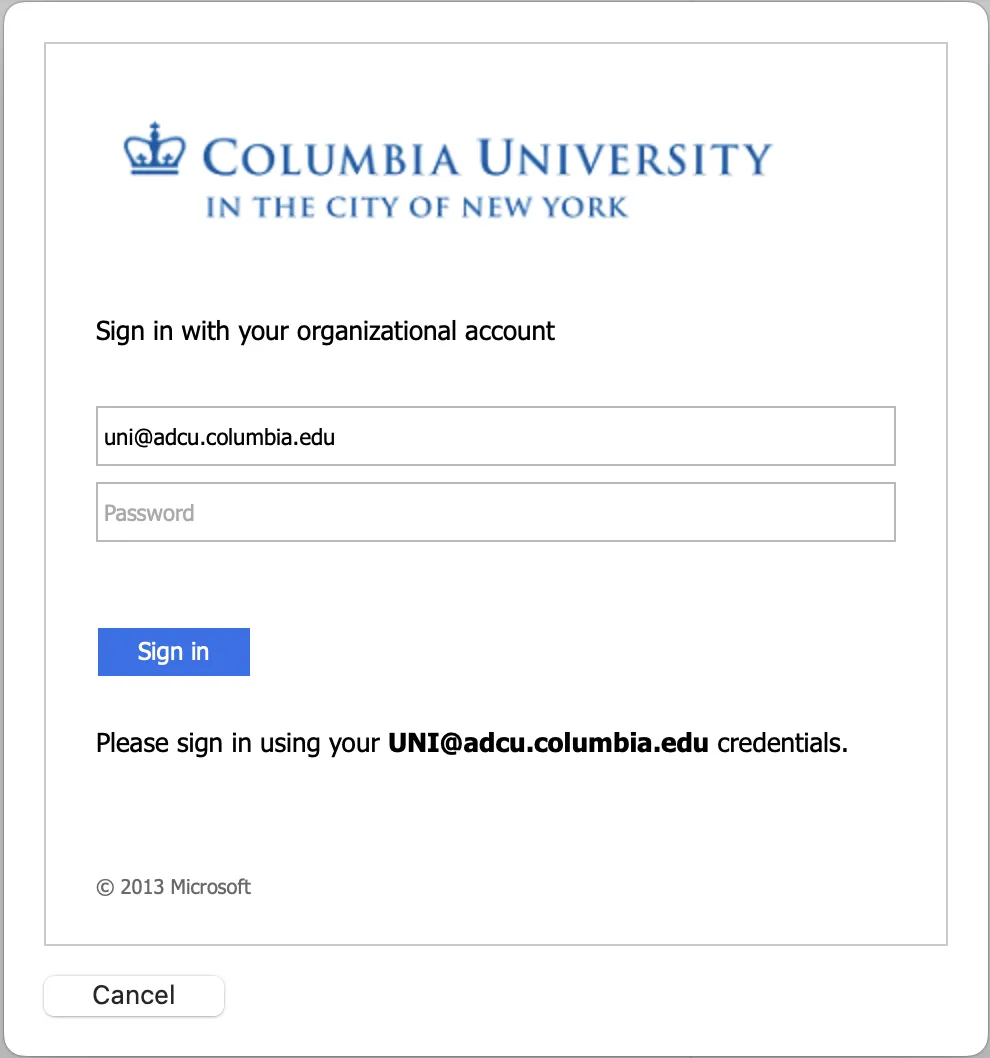
4. A new window will appear and you will need to enter your UNI password
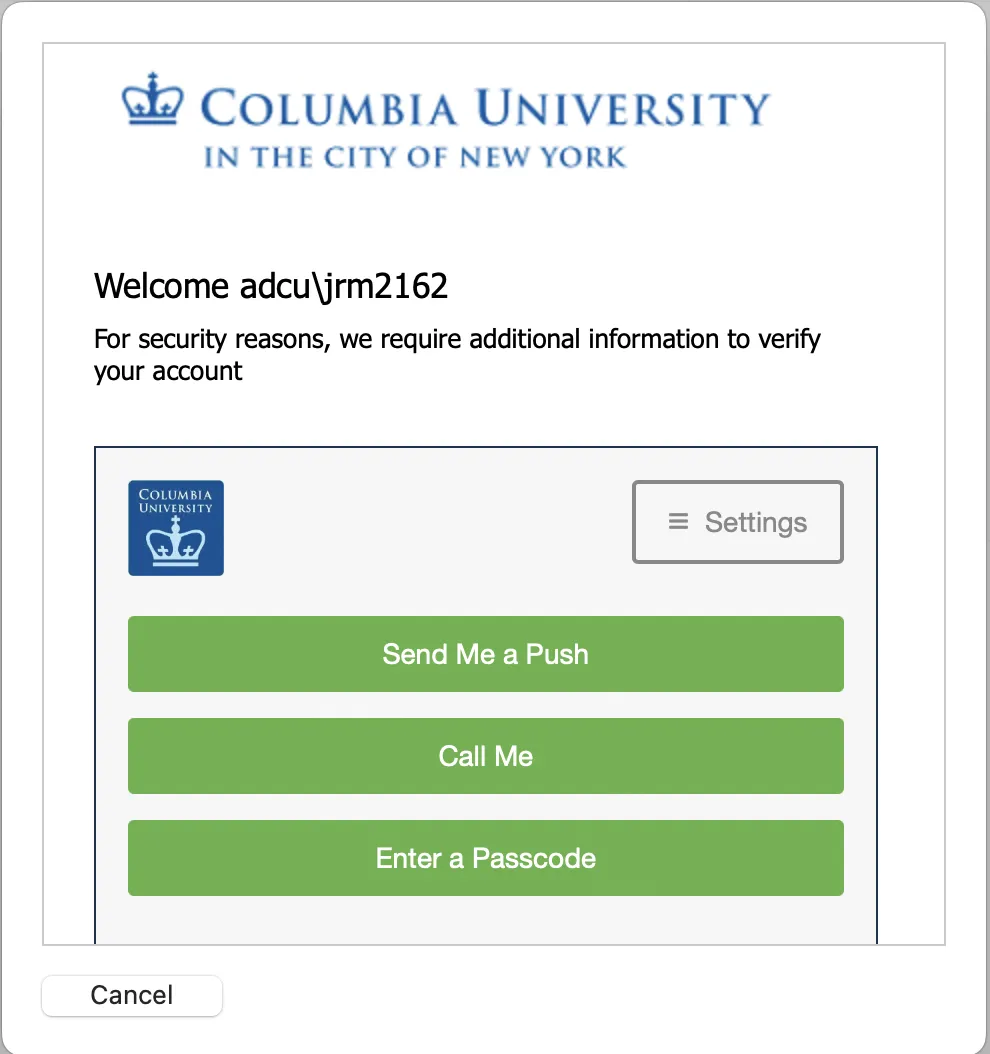
5. Select Send Me a Push and authenticate your account access.
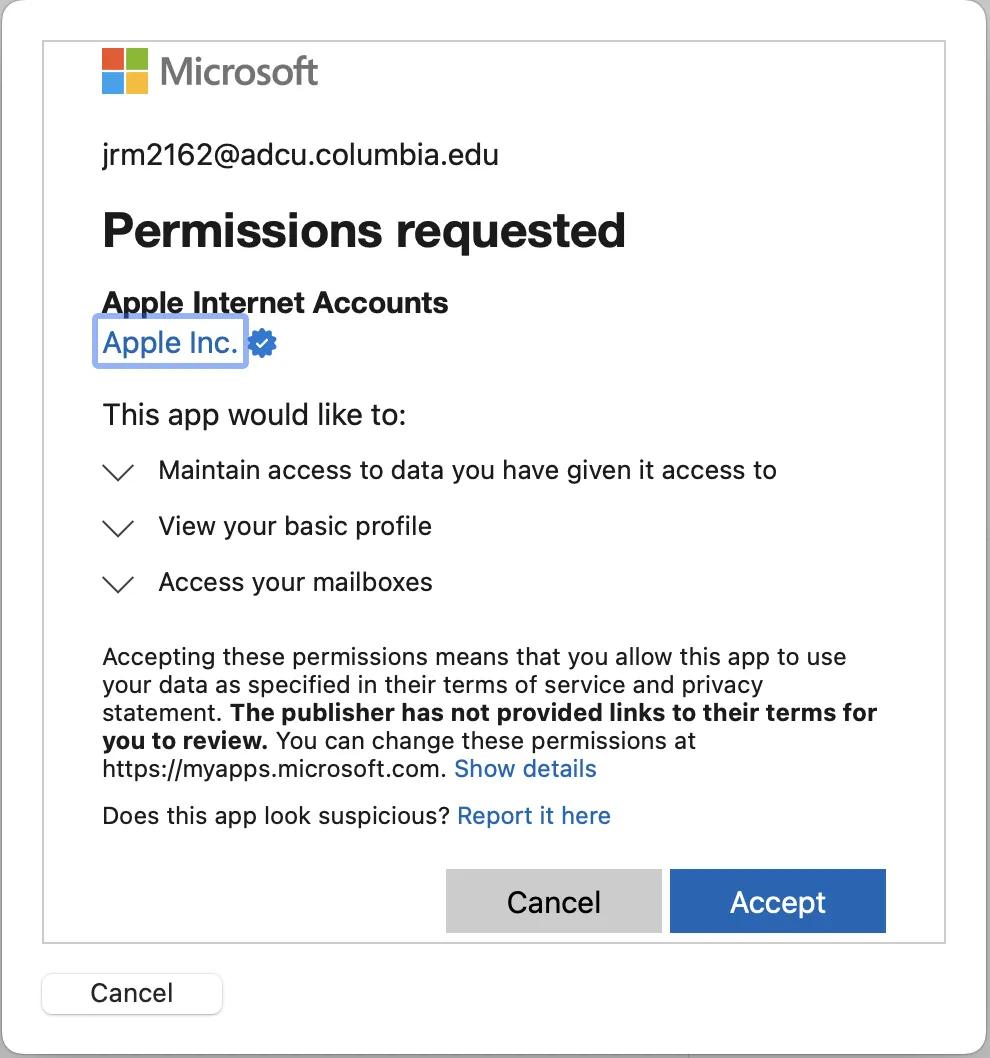
6. Select Accept to the permissions requested
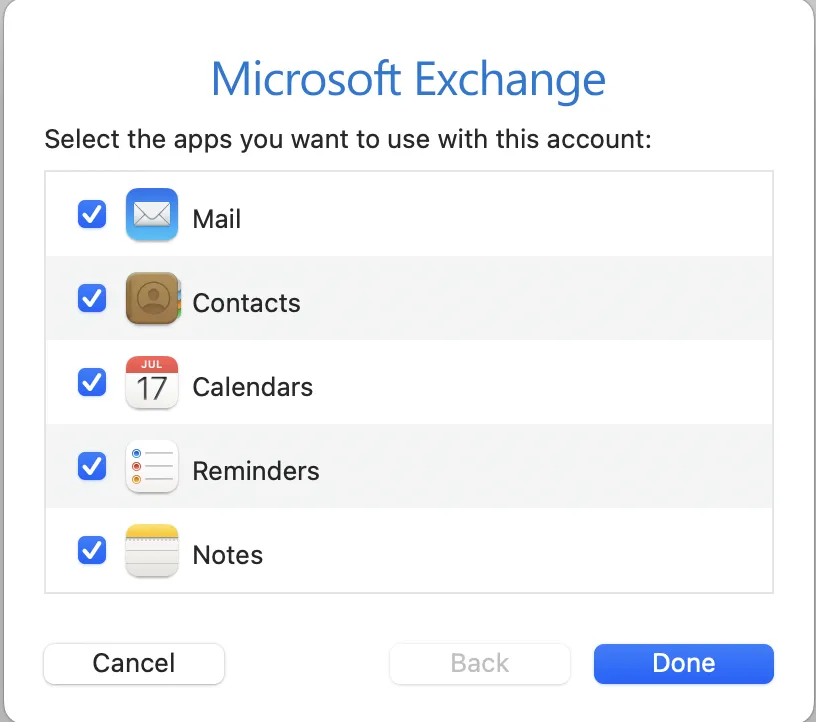
7. Choose the options that you would like to enable and select Done
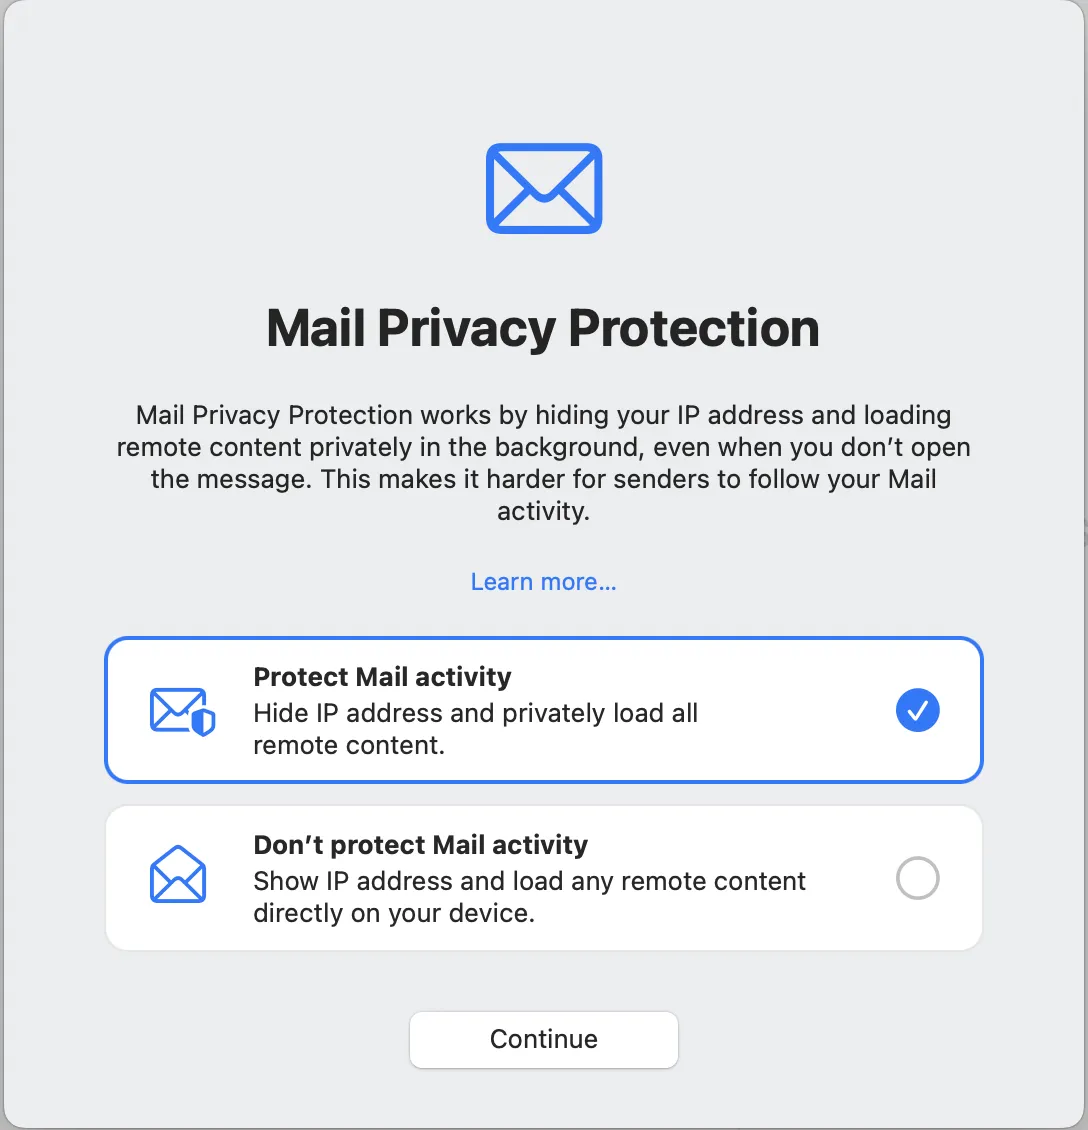
8. It's recommended to use mail privacy protection and then select Continue
Sharing Your Microsoft 365 Calendar
There are several ways to share your Microsoft 365 calendar by granting permissions levels.
Note:
- Microsoft 365 users will only be able to share detailed calendar information with other Microsoft 365 users.
- If you are sharing your calendar with a Mac user, you must give at least Reviewer permissions to the person for them to be able to see your calendar.
See more information on Share an Outlook Calendar with Other People
In Outlook calendars, by default, other Microsoft 365 users can see your free/busy times when scheduling a meeting, but NOT the details for your calendar appointments.
However, you can give someone permission to your calendar so that they can view your calendar appointment details and/or manage your calendar.
- Open Outlook
- Click Calendar on the left side of the window.
- Click the down arrow on the Share Calendar button or click the Calendar Permissions button depending on your version
- Select your calendar and click Add
- Select the person to whom you wish to give permissions and click Add
- Select the permissions for the user
- Click save changes.
In Microsoft 365 you can share your calendar information with other users over the web. You can share your calendar with one or more people inside your organization.
- Login to Microsoft 365 OWA
- Click on the Calendar icon.
- Click Share icon
- Select which calendar you would like to share.
- In the Share with field, type the email address(s) of the users that you wish to share your calendar.
- Choose what permissions you wish each user to have using the drop-down menu next to their name.
- Click Send
In Outlook calendars, by default, other Microsoft 365 can see your free/busy times when scheduling a meeting, but NOT the details for your calendar appointments.
However, you can give someone permission (e.g., access rights) to your calendar so that they can view your calendar appointment details and/or manage your calendar. If your "Calendar Permissions" option is grayed out, see You Cannot Open a Shared Calendar in Outlook 2016 for Mac for information on fixing the issue.
- Open Outlook.
- Click Calendar on the left side of the window.
- CTRL + Click on the calendar name and select Sharing Permissions
- Click Add User.
- Search for the user and select the name for the person to whom you wish to give permissions and click Add.
- Select the permission level for the user.
- Click OK to save changes
Depending on your version of Outlook, you will see different options for permissions.
Outlook Windows
- Open Outlook.
- Open your Calendar.
- Right click on your calendar and select Sharing Permissions
- Select Add.
- Type the name of the person you wish to add (e.g, doe, jane) select it, and click Add.
- Click OK.
- Under Permissions you can set the appropriate permissions for the user (e.g., Can view when I'm busy Can Edit, etc.)
- Click OK when you are finished selecting the permissions.
Outlook Mac
- Open Outlook
- Open your Calendar
- Select the "Calendar" listed under your email address
- Press CTRL + Click and choose Sharing Permissions
- Click Add User
- Type their name, select it and click Add
- Assign the desired permissions and click OK to save.
Microsoft 365 OWA
- Log into Microsoft 365 OWA
- Open your Calendar
- Under "My Calendars", right click on your calendar
- Click Sharing and permissions
- Type the name or email address of the person to whom you wish to add
- Select the permissions for the user by clicking the down arrow next to "Can view all details"
- Click Share
Publishing the calendar allows you to share your calendar with users on a different system or outside your organization.
- Login to Microsoft 365 OWA
- Click the Settings icon (gear on upper right corner of screen)
- Click View All Outlook Settings
- Select Calendar
- Under Shared calendars select Publish a Calendar
- Select the calendar you wish to publish by clicking the down arrow.
- Select the permissions for the published calendar by clicking the down arrow (Can view when I'm busy, can view titles and locations, can view all details)
- Click Publish.
- Copy the links and send them to the users whom you wish to have access to your calendar. Use the HTML link if you want recipients to view the calendar in a web browser or an ICS link if you want them to subscribe to the calendar (e.g., in Outlook).
- Click the left arrow next to Options to return to your Mail or Calendar.
NOTE: When you publish your calendar you can choose All Details, Titles and Locations (limited details), or Busy (free/busy). This is only a 'view' of your calendar, it can't be edited by others.
Using OWA
- Log into OWA: Microsoft 365 users
- Open your calendar and under 'Other People's calendars' right click and choose 'Open Calendar'.
- In the 'From Directory' type in the name of the user (e.g., Jane Doe) who shared their calendar with you and select 'Open'.
Outlook (Windows)
- Open the sharing invitation in your Inbox.
- Click the Open this Calendar icon
- Open your Calendar
- The calendar that has been shared with you will display next to yours.
If you don't see the "Open this Calendar" icon, follow the steps below (e.g., the user sharing their calendar may not be on your email server).
- Open your Calendar
- Select 'Open Calendar' from the drop down and choose 'Open Shared Calendar'
- In the 'Name' field type in the Users name (e.g., Jane Doe) who shared their calendar with you, and select OK.
Outlook (Mac)
- Open your Calendar
- Select File | Open Shared Calendar (or Open Other User's Folder)
- In the Search box, type the name of the person who has granted you access to their calendar, and press Enter
- Select their name, and click Open
Outlook Mobile
- Open the Outlook app on your mobile device.
- Open the calendar sharing email notification.
- Tap the Accept button.
- Tap the View button.
- The calendar will open, and you will see your calendar as well as the shared calendar.
To Un-share a Calendar (Windows)
- Right-click on the calendar you want to un-share and select Permissions.
- Right click the user's name and choose Remove.
- Select Save.
To Un-share a Calendar (Mac)
- Open the calendar you wish to un-share
- Click the Organizer tab and select Calendar Permissions.
- Select the person and choose Remove.
Outlook (Windows)
- Click the Add Calendar
- Select From Internet
- Paste in the .ics url and click OK
- Select the calendar to view it. The calendar will automatically update in Outlook.
OWA (Mac users will need to do this method)
- Login to Microsoft 365 OWA
- Open your Calendar
- Click Add Calendar
- Click Subscribe from web
- Paste in the URL of the calendar to open
- Select Import
- Type the name of the calendar
- Select color and charm if you wish to customize the look of the calendar
- Click the down arrow next to "Add to"
- Choose where the calendar should be added (e.g., My Calendars)
- Click Import
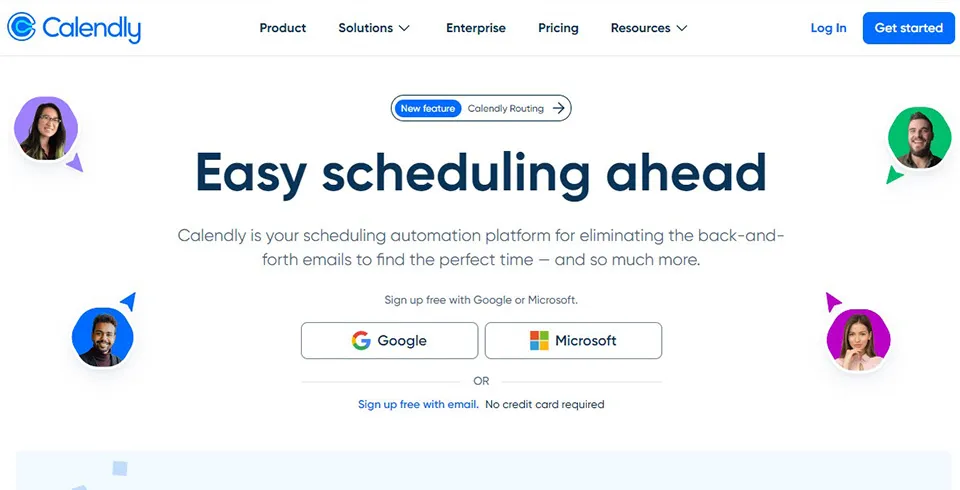
Step 1: Navigate to the Calendly Website
1. Open your preferred web browser.
2. Type in the address bar or click on this link https://www.calendly.com/.
3. Hit Enter.
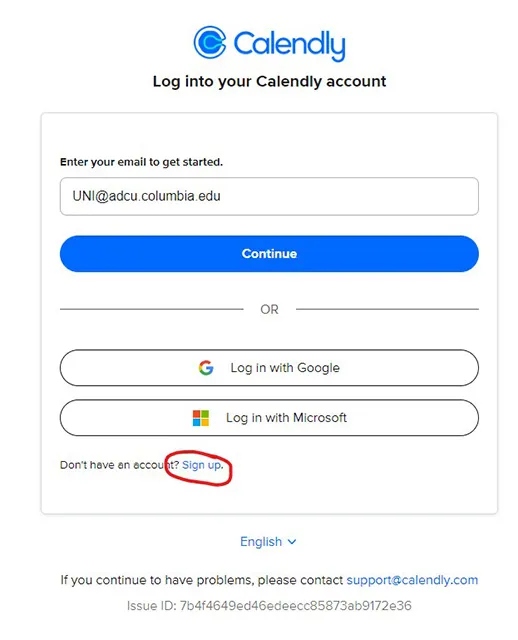
Step 2: Sign Up with Microsoft 365
You'll be presented with multiple sign-up options. Click on the Microsoft option.
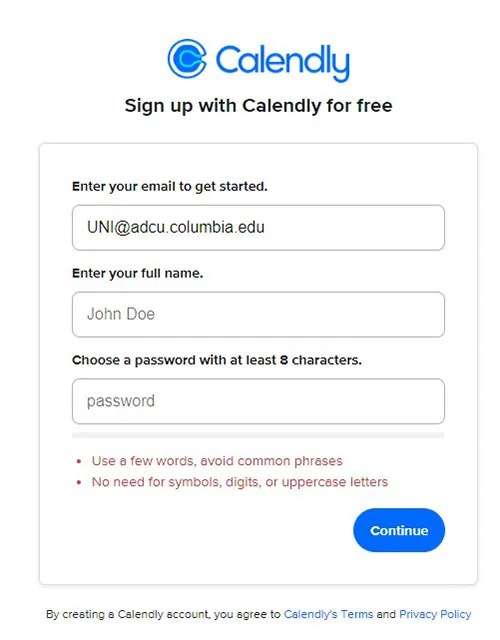
A prompt will appear, asking you to sign up.
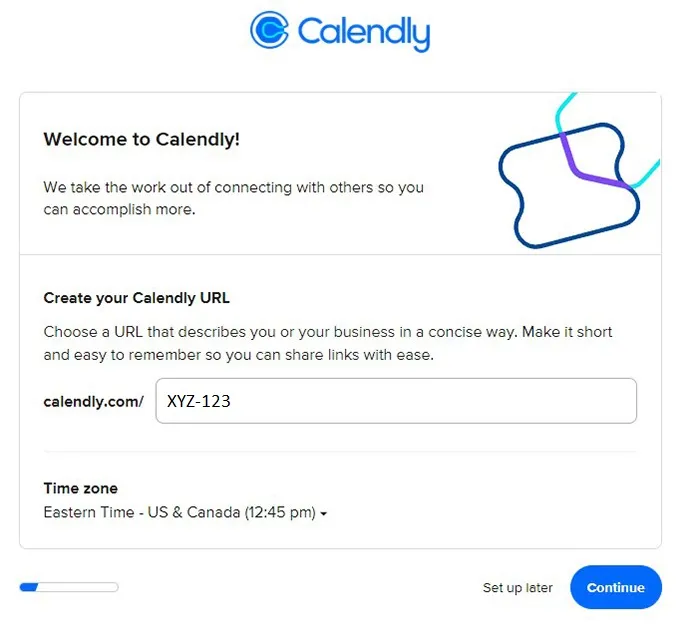
Sign in to your Microsoft 365 account. Enter your email address, full name, and password.
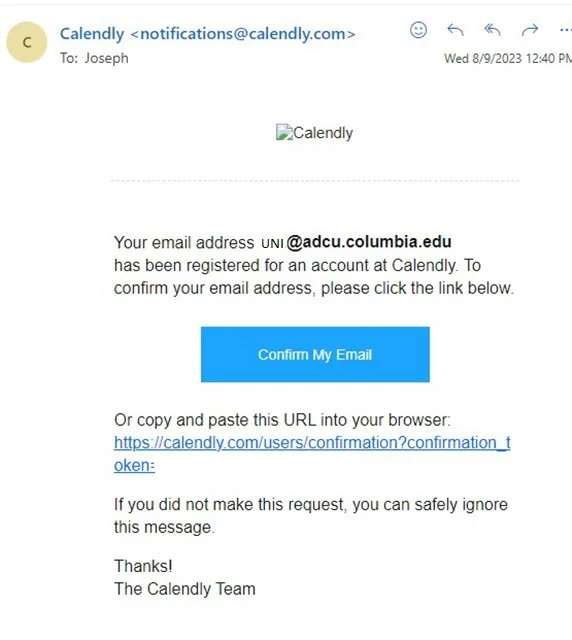
You will need to verify your email address. Log into Microsoft Office365 and look for the confirmation link.
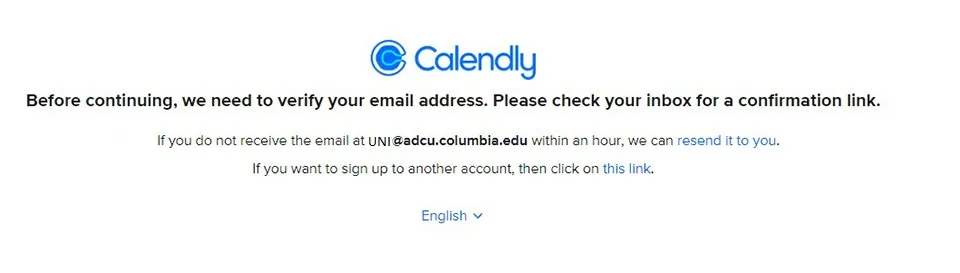
Look for a message in your inbox if it's not there then check in your spam folders. Click on "Confirm My Email".
The confirmation link will open a new window for you to sign in with the password you just created before. It's not your ADCU password.
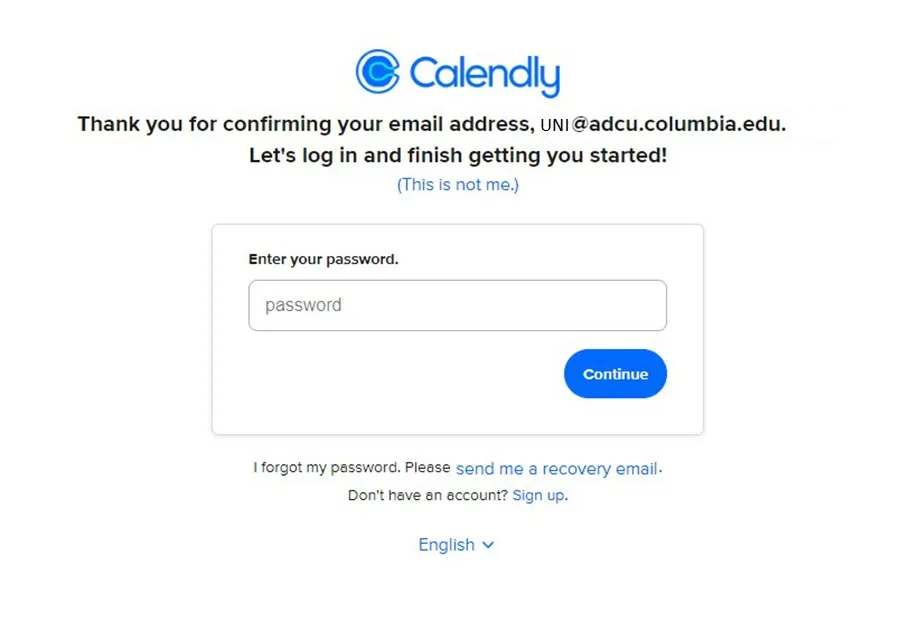
Click on continue.
Select Office 365 Calendar.
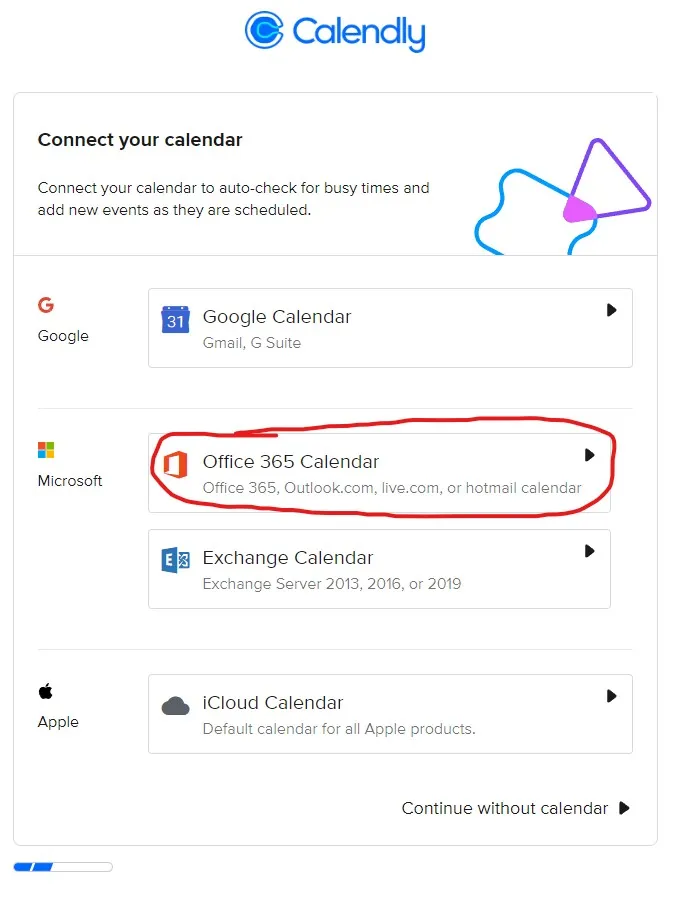
Select Continue.
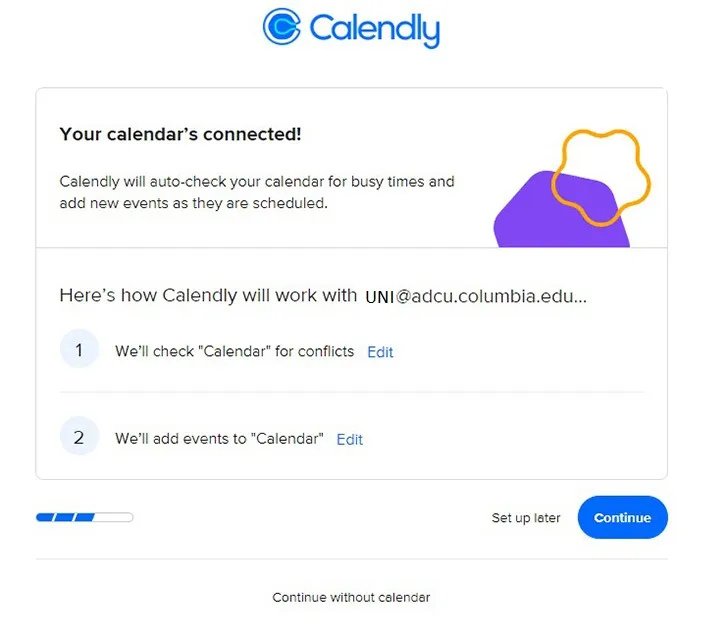
You have the option to adjust the days of the week and work hours or simply click on Continue.

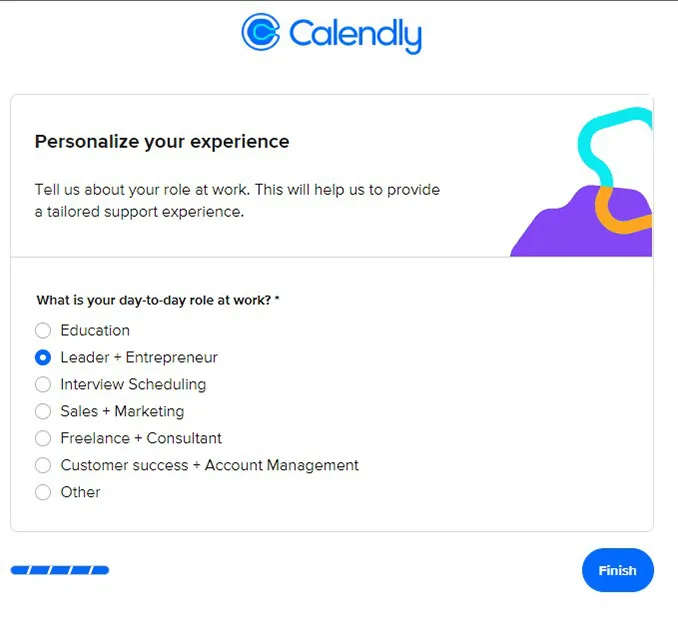
Selecting a role is optional and then click on Finish.
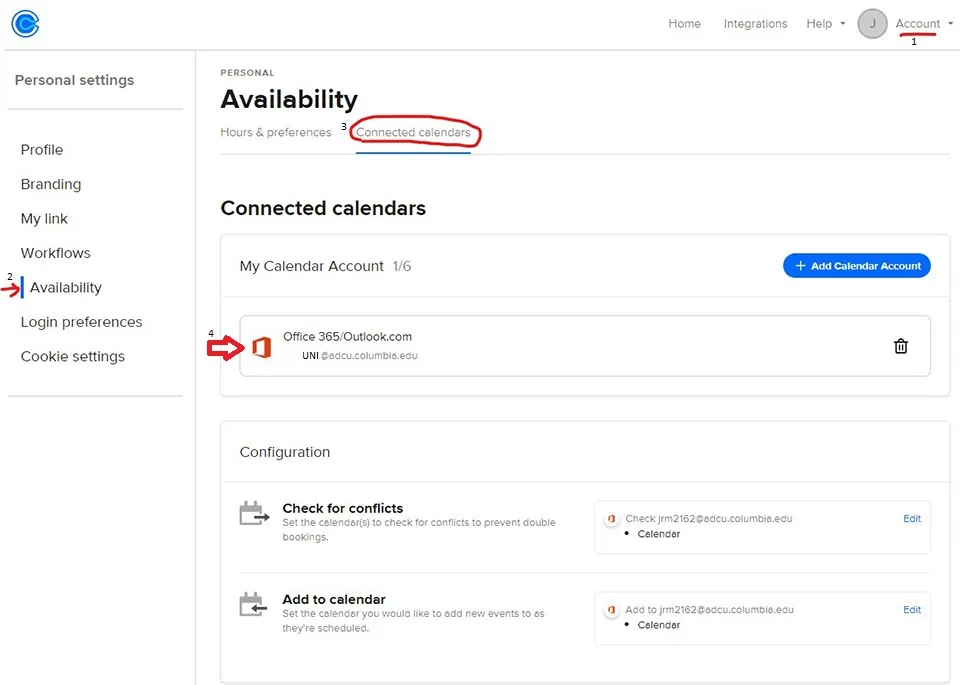
You may want to verify that your Microsoft 365 ADCU account is connected. Select Accounts, Settings, Availability, and Connected Calendars.
Test the Connection
1. Schedule a test event in your Microsoft 365 calendar.
2. Navigate back to Calendly and check your Dashboard or Event Types.
3. Ensure that the test event reflects as a blocked or unavailable slot in your Calendly availability.
Set Up Your Calendly Event Types
1. Click on Event Types on the left sidebar in Calendly.
2. You can set up different meeting types, durations, and other details here.
3. After setting up, your invitees can pick a time slot based on the availability seen from your Microsoft 365 calendar.
FAQ
Full permission means the user can Read, Edit, and Delete a file or folder.
The following three Permission Levels allow the granted person to delete any files in the folder you give them access to. Use with caution.
- Owner - This grants full permission to the selected folder. This is not generally advisable.
- Publishing Editor - This also grants full permission to the selected folder, but it does not change who "owns" the folder. Be careful when using this option, but it can be useful if other people need to organize your folder.
- Editor - This grants full permission, except for the ability to create new folders. This option is advised for basic calendar sharing.
The following two Permission Levels allow the granted person to edit/delete only files/appointments that they created.
- Publishing Author - Similar to Publishing Editor, except the granted user cannot delete files (or appointments) that you created.
- Author - Similar to Editor, except the granted user cannot delete files (or appointments) that you created.
The following four Permission Levels grant minimal access to your folder.
- Nonediting Author - The user can create items (not folders), but cannot edit anything. They can delete items that they have created.
- Reviewer - The user can see folders, but not sub-folders.
- Contributor - The user can create items.
- None - The user has no permissions. The Default user is setup with the Permission Level: None.
LDAP (Lightweight Directory Access Protocol) is used to configure your email so it will automatically offer the email addresses of users in the Columbia Directory as you begin typing their name or UNI.
Follow these LDAP configuration steps to add LDAP to your Outlook Exchange account.
For more details on Microsoft products, basic training, and templates visit Microsoft 365 Training